|
 |
 |
|
 |
|
|
|
|
|
|
Update your package repository: sudo pacman -Syu
Install some packages: sudo pacman -S virtualbox virtualbox-guest-iso, Enter a number: 2 (virtual-host-modules-arch).
To use the USB ports of your host machine, add the current user to the vboxusers users group: sudo gpasswd -a $USER vboxusers
user@pc:~$ groups $USER # Check that your user is in the vboxusers group.
  wheel autologin vboxusers nmaximo7
Load the VirtualBox module automatically at boot time: sudo modprobe vboxdrv
Maybe you find the following problem: The VirtualBox Linux kernel driver (vboxdrv) is either not loaded or there is a permission problem with /dev/vboxdrv. Try to install: sudo pacman -S virtualbox-host-dkms linux-headers
Install the VirtualBox Oracle VM Virtual Extension Pack.
user@pc:~$ vboxmanage -v | cut -dr -f1 # Verify your version of VirtualBox
  7.0.14_
wget https://download.virtualbox.org/virtualbox/7.0.14/Oracle_VM_VirtualBox_Extension_Pack-7.0.14.vbox-extpack # Download the Extension Pack with the same version
sudo vboxmanage extpack install Oracle_VM_VirtualBox_Extension_Pack-7.0.14.vbox-extpack # Install the VirtualBox Extension pack
The Oracle VM VirtualBox web service, vboxwebsrv, is used for controlling Oracle VM VirtualBox remotely. Enable vboxweb to start on boot and start the service: sudo systemctl enable vboxweb.service, sudo systemctl start vboxweb.service
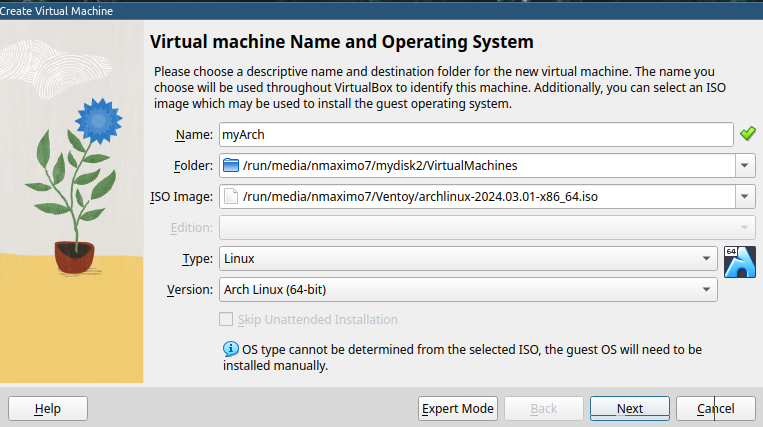
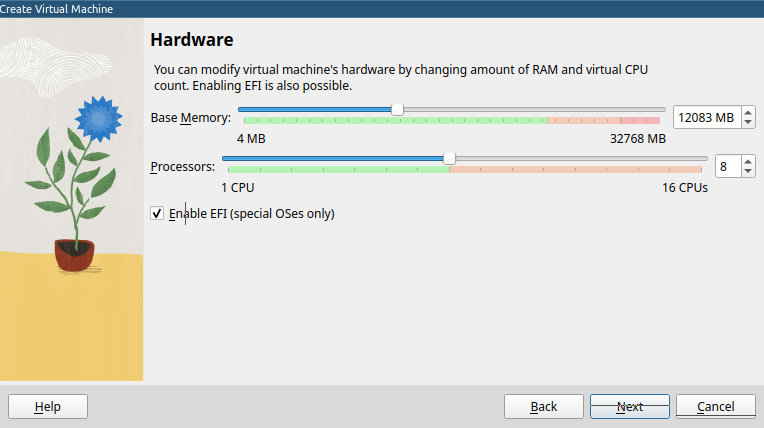
Select the VM’s entry in the VirtualBox Manager list, and click Start at the top of the windows.
Install the operating system. We will use the Arch Linux installer: archinstall.
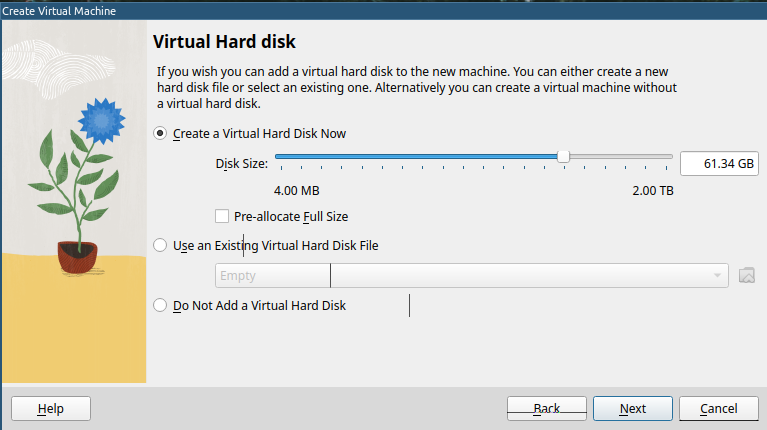
Add new drives to a VirtualBox virtual machine: Power down the VM, Settings, Storage, click Controller: SATA, Add Hard Disk.
Partition the disk: sudo fdisk /dev/sdb. Press g: create a new GPT (a new GUID Partition Table), then n so we can create a new partition, and finally w to write the changes and exit.
Create a ext4 filesystem on the new filesystem: sudo mkfs.ext4 /dev/sdb1.
Mount the disk.
	sudo mkdir /mnt/mydisk/ # Create a mount point.
	blkid # Identify the drives and their partitions.
	sudo nvim /etc/fstab: UUID=X /mnt/mydisk ext4 defaults 0 1
	sudo chown -R nmaximo7:nmaximo7 /mnt/mydisk # It recursively change the ownership of all files and directories under `/mnt/mydisk` to the user and group `nmaximo7`; the `-R` option applies the change recursively.
	sudo mount -a # Read the /etc/fstab configuration file and mount all entries in `/etc/fstab`.
	systemctl daemon-reload # Reload the systemd daemon to apply the changes.
A login manager is a program that grabs control of the X display and manages logins. We don’t need it, we will install a display server (Xorg), a display server initialization (xinit), a traditional window manager (i3), a status bar (i3bar) with these packages and other extras (minimalistic to a point): sudo pacman -S git vim alacritty xorg xorg-xinit i3-wm i3status i3blocks neofetch firefox.
To start the Xorg display server, we’ll use the startx program provided by the xorg-xinit package. Its configuration file xinitrc is in /etc/X11/xinit/, so we copy it as a starting point: cp /etc/X11/xinit/xinitrc ~/.xinitrc, and remove the code at its bottom related to the tab window manager (twm &, a window manager for the X Windows System), a clock (clock -geometry 50x50-1+1 &), and a few instances of xterm (a default X terminal emulator) with the executable of our i3 windows manager
# At the bottom of the default xinitrc
# Credits: ejmastnak.com, Install and start Xorg
twm &
xclock -geometry 50x50-1+1 &
xterm -geometry 80x50+494+51 &
xterm -geometry 80x20+494-0 &
exec xterm -geometry 80x66+0+0 -name login
We replace it by
# At the bottom of the default xinitrc
exec i3
It is already in our article Troubleshooting. How to fix your Linux
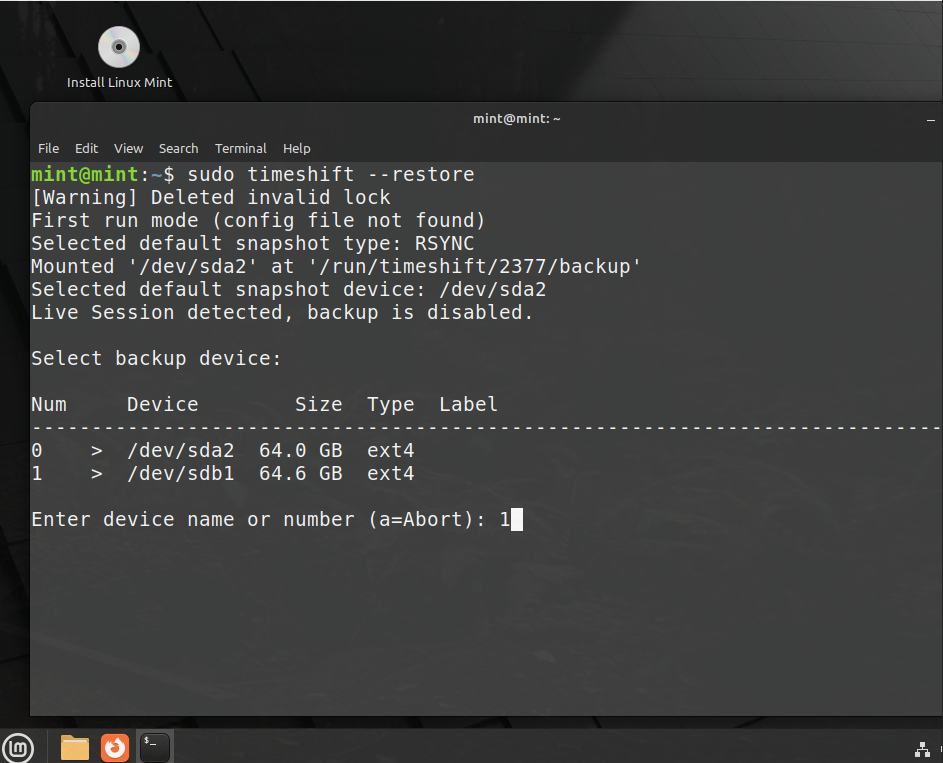
You can make it easy without needing to mount anything just typing: timeshift ‐-restore ‐ or sudo timeshift-gtk, then select your backup device (e.g., /dev/sdb1 -1-). Having a separate backup disk for critical data is a good precaution against accidentally erasing something or a system crash.
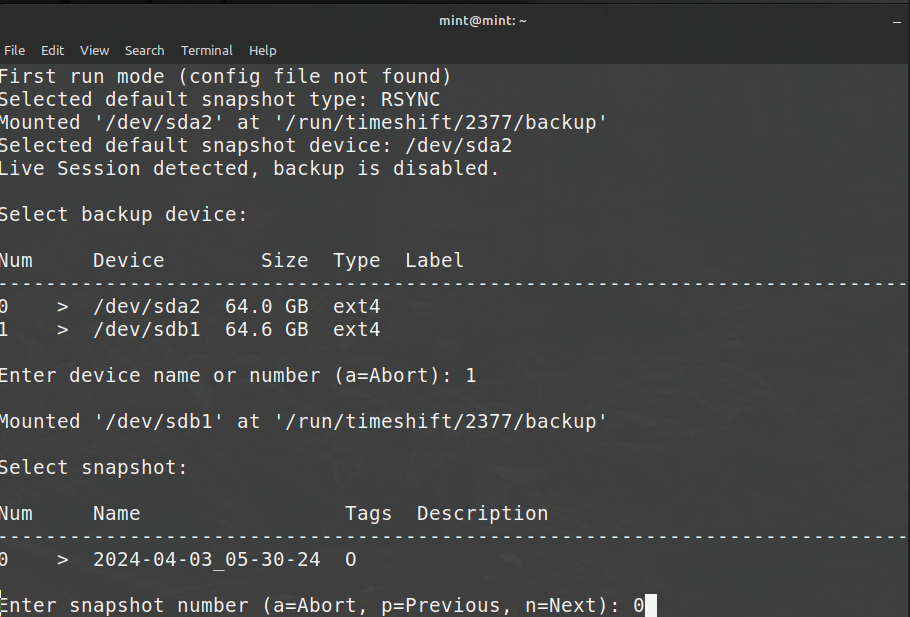
Next, select your snapshot.
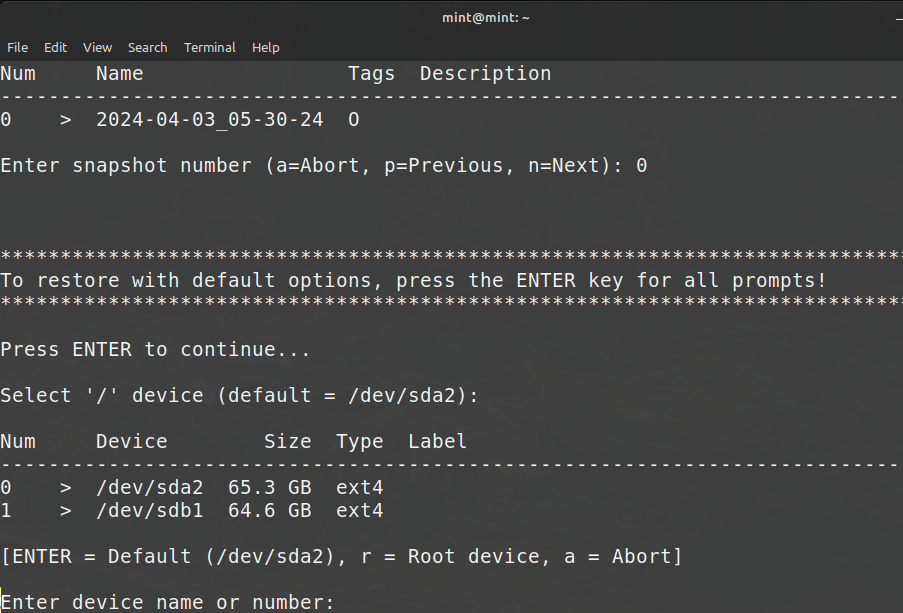
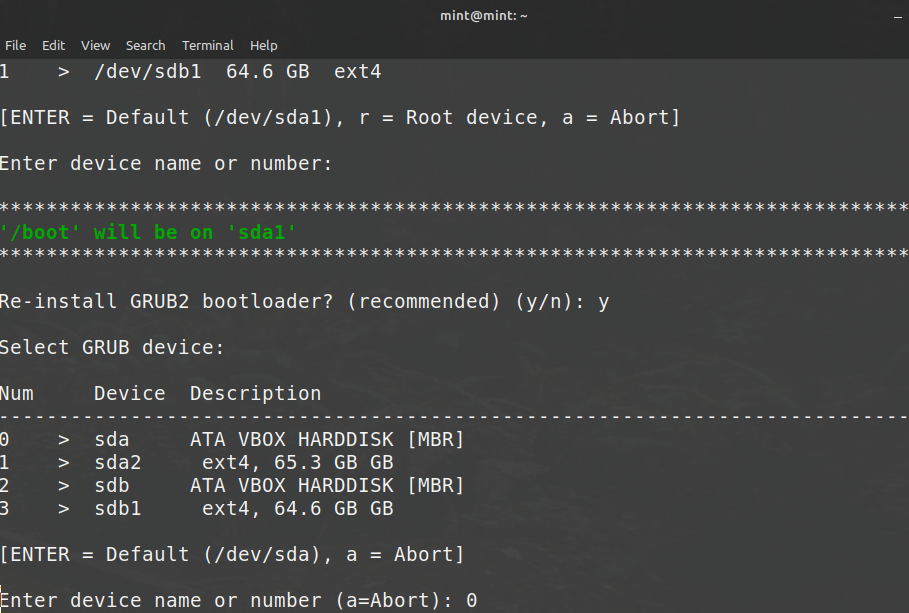
Press ENTER to restore with default options, then the device where the root partition is located (e.g., /dev/sda2/, so press ENTER or type 0).
Select the boot device (e.g., /dev/sda1, so press ENTER or type 0).
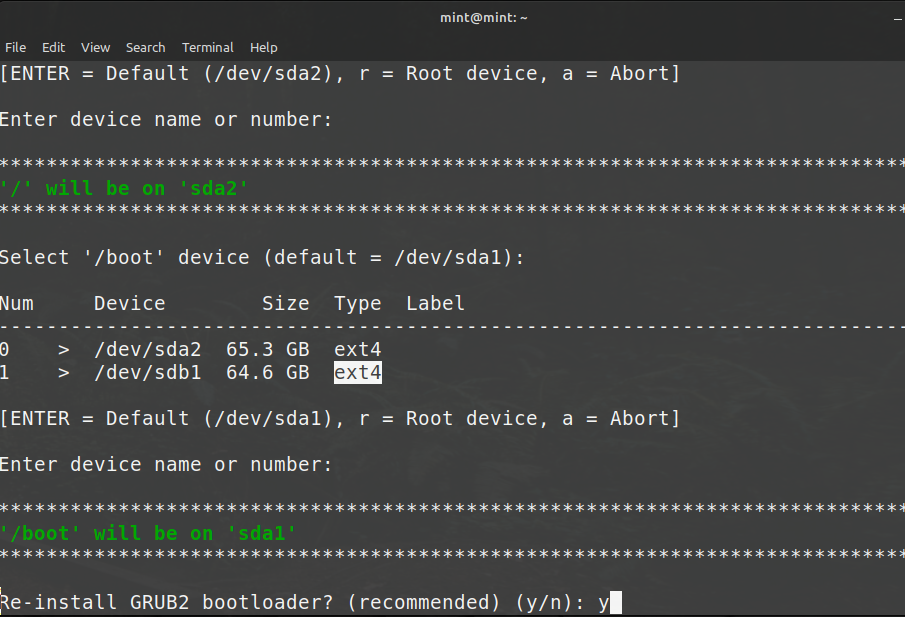
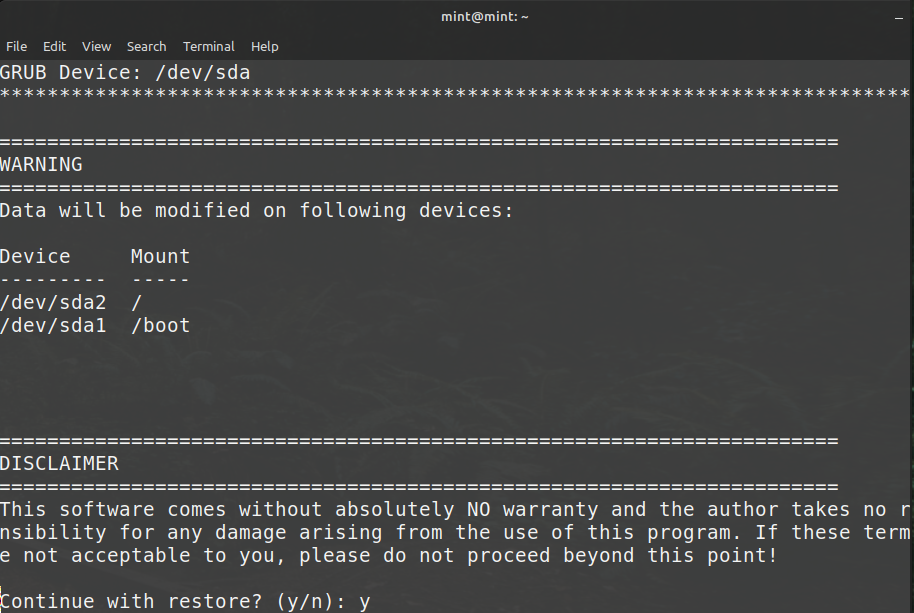
You may also want to re-install the GRUB2 bootloader (default options are usually what you need)
Finally, a warning message and a disclaimer.

JustToThePoint Copyright © 2011 - 2024 Anawim. ALL RIGHTS RESERVED. Bilingual e-books, articles, and videos to help your child and your entire family succeed, develop a healthy lifestyle, and have a lot of fun. Social Issues, Join us.
This website uses cookies to improve your navigation experience.
By continuing, you are consenting to our use of cookies, in accordance with our Cookies Policy and Website Terms and Conditions of use.