|
 |
 |
|
 |
|
|
|
|
|
|
Fairy tales are more than true: not because they tell us that dragons exist, but because they tell us that dragons can be beaten, G.K. Chesterson
The Three Act Structure (How to outline a novel) is a storytelling framework, a method of structuring and organizing your story.
A solid story structure is essential to connecting with your readers in the most meaningful way, one that educates, entertains, and/or inspires them. It has the power to move or change emotions and feelings, inspire, surprise, frighten, delight, or even make them laugh. 
It is comprised of three acts, a setup, a confrontation, and a resolution.
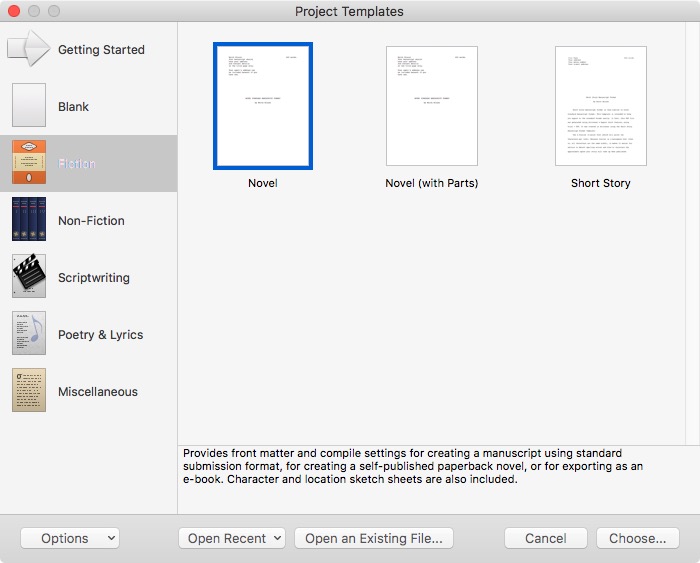
Scrivener is a powerful content-generation tool for writers, students, journalists, students, teachers, etc. that allows you to concentrate on composing and structuring long and difficult documents. While it gives you complete control of your document’s formatting, its focus is on helping you get to the end of that awkward and complicated first draft. However, it is proprietary software and even worst, it is not free.
Observe the Getting Started’s three initial options: Interactive Tutorial, Scrivener User Manual, and Video Tutorials, in other words, it offers plenty of ways to learn about Scrivener 🆒😀.
There are three sections in Scrivener: the binder, the editor, and the inspector.
Scrivener allows you to take snapshots of the documents in your projects (select a document in the Binder, then navigate through Documents, Snapshots, Take Snapshot, or just click the “+” plus icon on the Inspector’s Snapshots tab -the one with a small camera icon-), then you can go back to them if you want to roll back unwanted or unsatisfied changes in your drafts.
An outline is a general plan, skeletal representation, or guide used by writers to gather and organize your thoughts and ideas into a logical order. It allows you to build up a plan for your work non-linearly, i.e., you do not have to start at the beginning as you create it.
Outlining is a very complex and tricky part of the writing process. Scrivener is built around this concept. You can and should use Scrivener’s Outline mode to create, plan, organize, and reorder your project. Select the Manuscript folder in your Binder, then click the Outliner Mode icon (the rightmost button in the Group Mode) in the main Scrivener toolbar or go to View, Outline. 
Typically, you’ll organize your novel with chapters (folders) and scenes (texts), but you are free to do whatever you want, e.g., parts, chapters, and scenes, and you can color-code them to show their status. By default, you’ll see the title, synopsis, the label (idea, notes, character notes, chapter, scene), and status (first, revised or final draft, To Do, etc.).
When you are working in a project, Scrivener’s Binder is the hierarchy or structured list of all the files and folders in your project. At the top there’s a folder labeled Draft or Manuscript which is meant to house your novel, thesis, short story or whatever you are actually working on. Typically, each folder is a chapter and each document or text inside the folder is a scene.
Besides your manuscript, Scrivener have (or you can easily add) folders for your notes, aka full dump your brain without too much care or thinking (it is basically where you can add information, quotes, things as they come to your mind or store some, maybe useful, ideas), characters, research (e.g., photo references, web pages, word docs, etc.), places, etc.
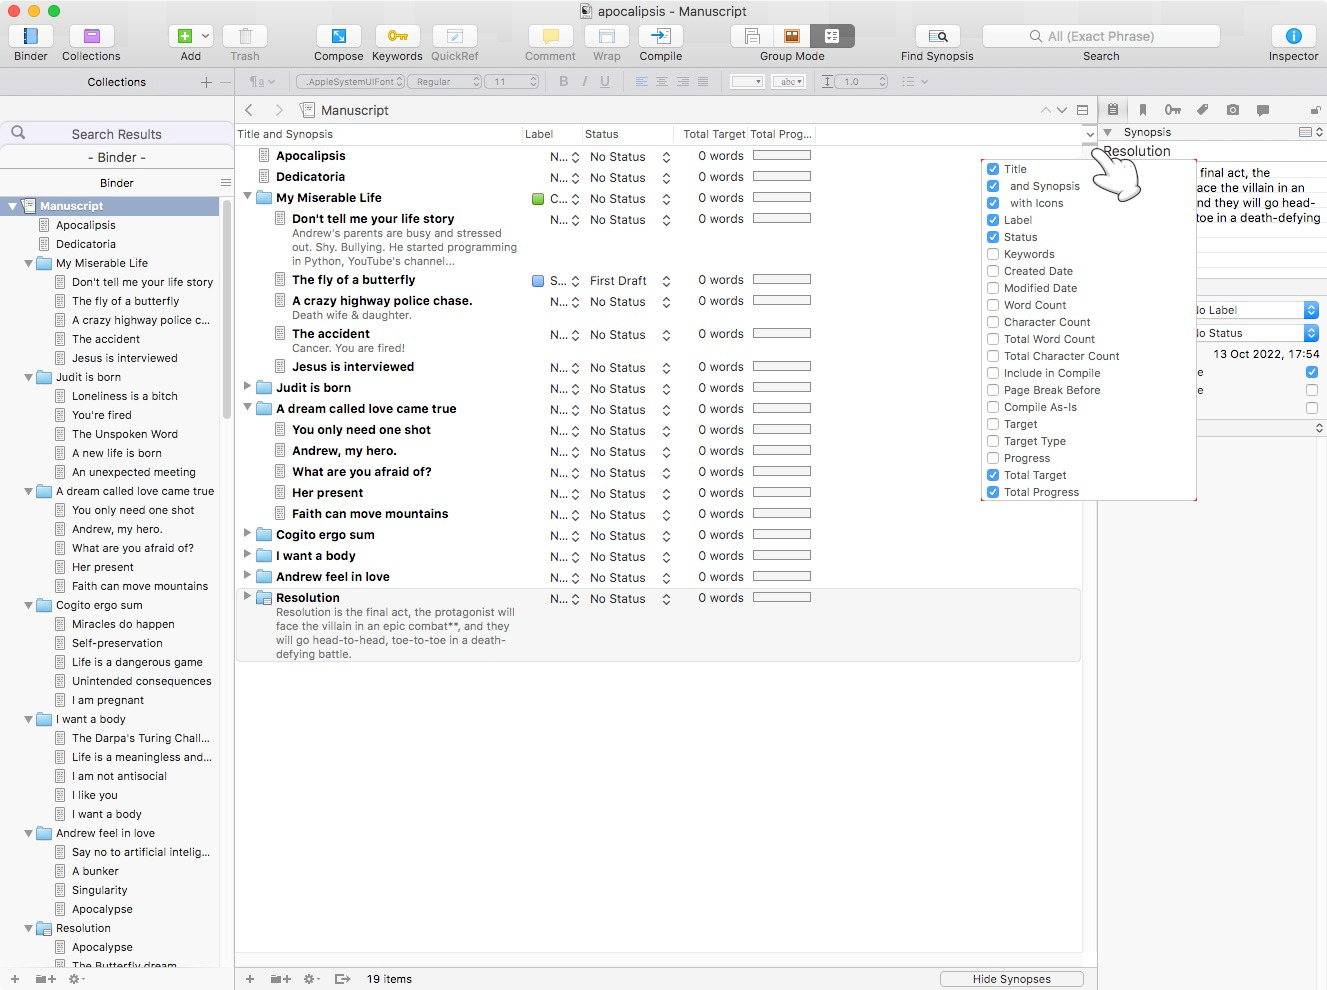
Scrivener’s Outline mode can be customized to suit your preferences, needs, and creating process. You can add or remove columns from the outliner by selecting on the menu View, Outliner Columns or by clicking the small arrow button at the top right of the Editor pane when you are in Outline mode, as it is illustrated in the picture below. You can choose to display or hide synopses, icons, labels, keywords, word count, etc.
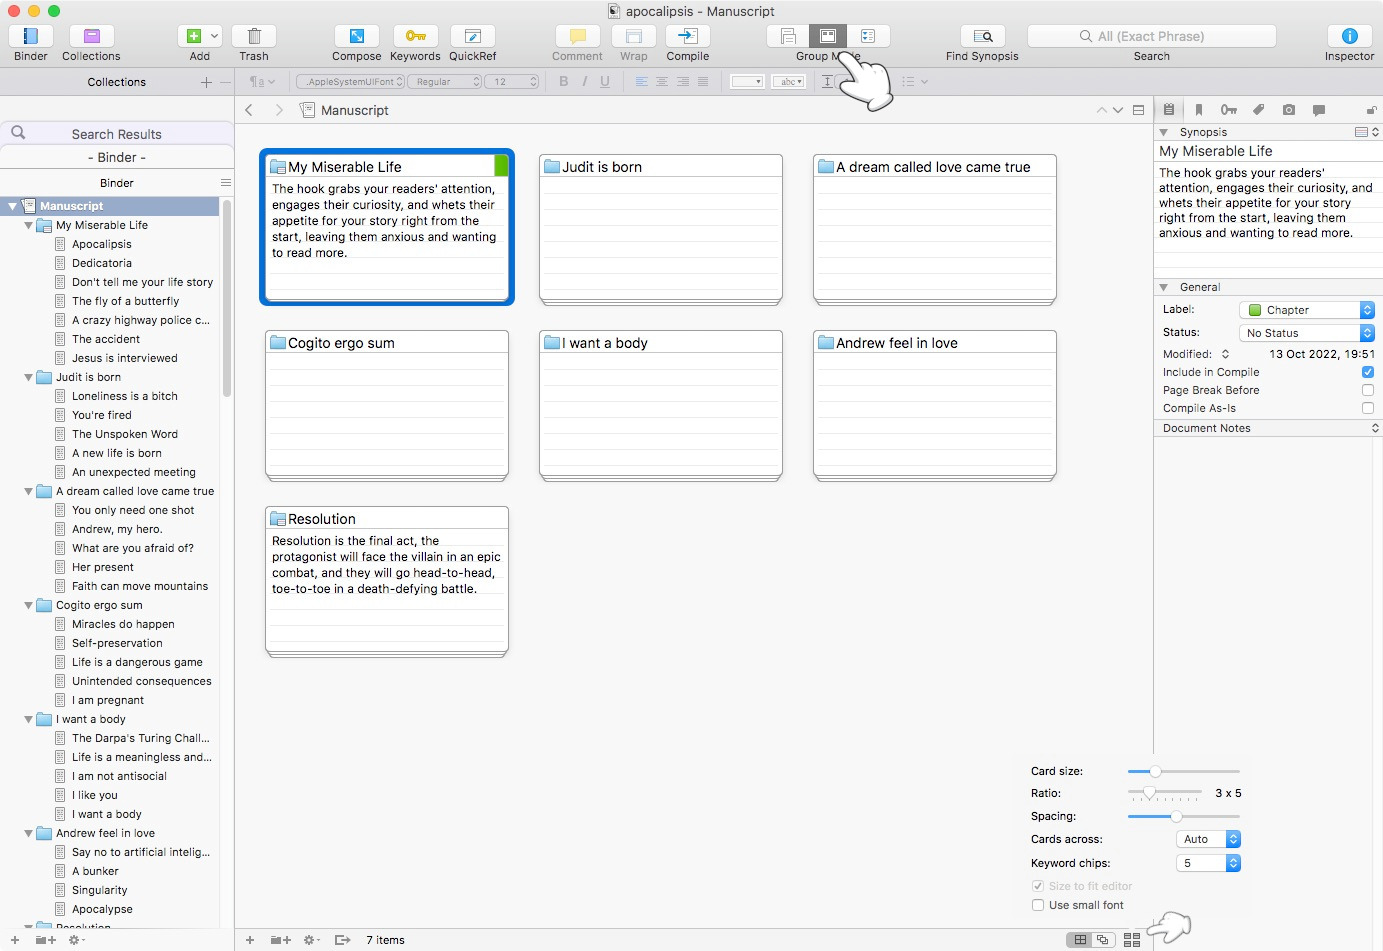
Scrivener’s Corkboard is based on the concept of index or post-it sticky cards tacked up to a board. It is a powerful visual way to organize your projects and help you on each and every stage of your writing journey: brainstorming, outlining, drafting, note taking, incorporating research, writing, rewriting, and editing. Select the Manuscript folder in your Binder, then click the Corkboard Mode icon (the middle button in the Group Mode) in the main Scrivener toolbar or go to View, Corkboard.
You may also want to click the Corkboard Options button in the Corkboard footer to change the ratio (e.g., 3 x 5), size of the cards to fit more or less in your screen, or adjust the spacing between cards.
There are also many options that you can set in Scrivener’s Preferences (Scrivener, Preferences on macOS, File, Options on Windows): Editor, Formatting (text formatting can be overridden on a per-project basis via Project, Text Preferences), Corrections (e.g., check spelling as you type in new projects, check grammar with spelling in new projects, suggest completions as you type), Backup (be sure to turn on automatic backups, and select your Backup location, e.g., a backup_scrivener folder in your Dropbox, Google Drive, etc.).
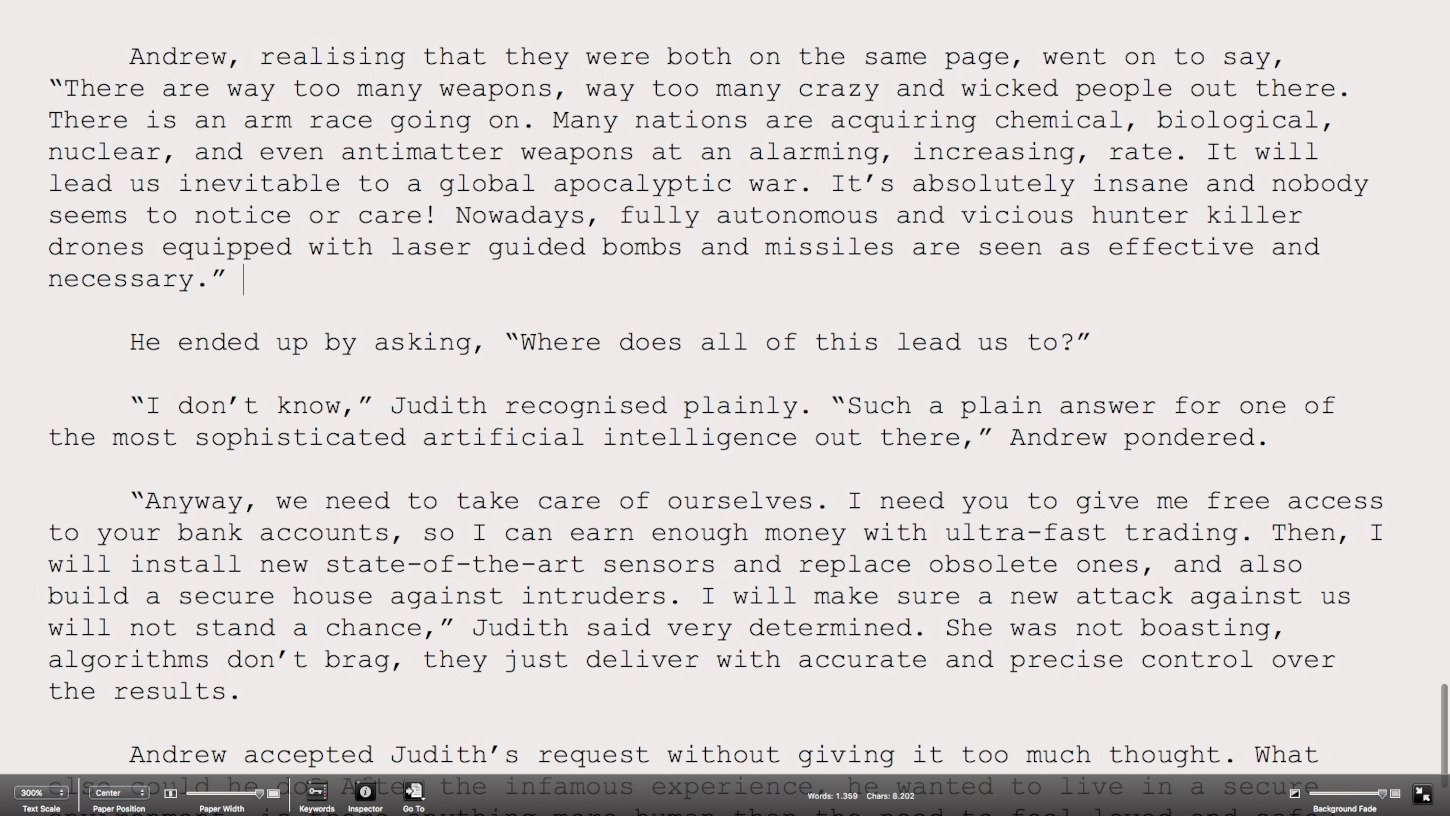
Another cool feature is its Composition Mode. You can enter it by choosing View, Enter Composition Mode or by using its shortcut, Command-Option-F (macOS)/F11 (Windows). It is a minimalist mode. It clears your screen and allows you to immerse yourself in your writing without being distracted by Scrivener’s interface. To exit this mode, press the Escape key. Besides, there are a number of icons that let you quickly access to certain features: text scale, paper position and width, inspector, go to (you can switch to another text in the Binder), etc.
Other options are: mind mapping software, e.g., Scapple, Xmind; Aeon Timeline enables you to take dates, events, and moments and construct a narrative structure or story outline; and Trello.

JustToThePoint Copyright © 2011 - 2024 Anawim. ALL RIGHTS RESERVED. Bilingual e-books, articles, and videos to help your child and your entire family succeed, develop a healthy lifestyle, and have a lot of fun. Social Issues, Join us.
This website uses cookies to improve your navigation experience.
By continuing, you are consenting to our use of cookies, in accordance with our Cookies Policy and Website Terms and Conditions of use.