
|
 |
 |
|
 |
|
|
|
|
|
|
SSH (Secure Shell) is a widely used secured network protocol to access remote computers in a network.

Let’s install it (Ubuntu, Debian): sudo apt install openssh-server.
Enable SSH in a Raspberry Pi. It allows you access the command line of a Raspberry Pi remotely from another computer or device on the same network: sudo raspi-config, Interface Options, SSH.
raspi-config helps you to configure your Raspberry Pi. It enables you to configure various settings of your Raspbian PI, such as the keyboard layout, the timezone, the password for the pi user, the SSH access, etc.
Display the IP addresses assigned to all interfaces: ip address show. If you don’t know your Raspberry Pi’s IP address, open a Terminal window and type: hostname -I.
If you want to connect to your server, you can use Putty (Windows) or need to invoke the ssh command followed by your username, the arroba @, and the IP address in the following format:
ssh myUserName@myIpAddress

# You may want to create an alias in your .bashrc:
alias sshServer = 'ssh myUserName@myIpAddress'
You may want to change the default behavior of the OpenSSH server application by editing the file sudo vi /etc/ssh/sshd_config. man sshd_config is the man’s page about the OpenSSH daemon configuration file.
    Port 2134 # By default the sshd daemon listens on port 22. We can change the port used by the server.
    PermitRootLogin no # It does not allow the root user to login directly.
    Banner /etc/issue.net # It displays a banner or message (it specifies the file containing this message) when a user tries to authenticate cto our server
    PasswordAuthentication no # It disables authentication by password. It only allows login by public keys.
Then, you should check or test the validity of your configuration file, sudo sshd -t -f /etc/ssh/sshd_config and restart the daemon sudo systemctl restart sshd.service
Troubleshooting: Is ssh running? sudo systemctl status ssh.
If the firewall is enabled on your system, you need to open up the SSH port: sudo ufw allow ssh
To start the sshd service: sudo systemctl start sshd.service. To enable and start sshd at boot time: sudo systemctl enable sshd.service.
Generate an SSH key pair on the client (your local computer): ssh-keygen. By default, the keys will be stored in the ~/.ssh directory, the private key will be called id_rsa and the associated public key will be called id_rsa.pub.
Next, copy the public key to the SSH server:
ssh-copy-id -i ~/.ssh/id_rsa.pub userName@ServerIPAddress
It uses a locally available public key to authorize logins on a remote machine. ssh_copy uses ssh to log into a remote machine and adds the local computer’s public key to the remote server’s ~/.ssh/authorized_keys, e.g., cat .ssh/authorized_keys:
ssh-rsa CSDAAAB3NzaC1yc……asdSRTXmRQ.== myName@gmail.com
Import SSH keys to a new machine
  mkdir -p ~/.ssh/ # First, we need to create the .ssh directory, copy the public and private keys to this directory.
  # Set the right permissions
  chmod 700 ~/.ssh/
  chmod 600 ~/.ssh/id_rsa
  chmod 600 ~/.ssh/id_rsa.pub
  # Credits: Putorius.net. Create a Custom MOTD or login banner in Linux
  sudo bash -c $'echo "neofetch" >> /etc/profile.d/mymotd.sh && chmod +x /etc/profile.d/mymotd.sh'
Please observe that any script in the /etc/profile.d folder will run when a user logs in.
It allows you to run GUI-based applications that are running on the remote server, but they are being displayed on your local machine.
ssh -Y userName@ServerSSHIPAddress
To enable the keep-alive system-wide SSH Sessions, edit vim /etc/ssh/ssh_config:
    TCPKeepAlive yes
    ClientAliveInterval 600 # It send a null packet to the client every 600 seconds (10 minutes)
    ClientAliveCountMax 3 # It will abort the session if it does not receive any response after 3 tries.
ChallengeResponseAuthentication yes
PasswordAuthentication no (Disable Password Authentication because a lot of people with SSH servers use weak passwords)
Banner /etc/issue.net (Display warning message)
PermitRootLogin no (Disable root SSH login)
WARNING: Unauthorized access to this system is forbidden and will be prosecuted by law. By accessing this system, you agree that your actions may be monitored if unauthorized usage is suspected.

SSH. Autenticación basada en claves. MOTD. Aplicaciones gráficas sobre SSH. Autenticación de dos factores

How to Edit Audio in Audacity. How to create music.
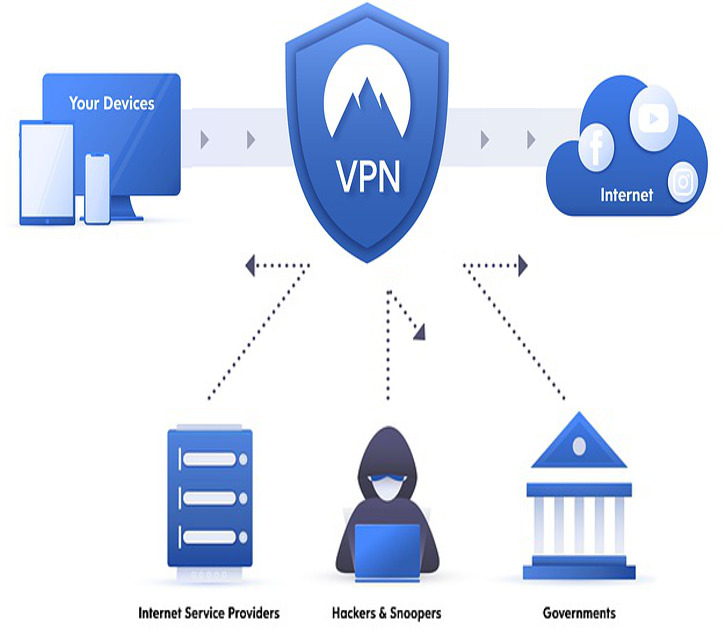
Installing, configuring, and using VPN with WireGuard, Duckdns, OpenVPN, and PiVPN

How to create a strong password you can remember

How to manage your passwords

JustToThePoint Copyright © 2011 - 2024 Anawim. ALL RIGHTS RESERVED. Bilingual e-books, articles, and videos to help your child and your entire family succeed, develop a healthy lifestyle, and have a lot of fun. Social Issues, Join us.
This website uses cookies to improve your navigation experience.
By continuing, you are consenting to our use of cookies, in accordance with our Cookies Policy and Website Terms and Conditions of use.