Inspiration is for amateurs. The rest of us just show up and get the work done. If you wait around for the clouds to part and a bolt of lightning to strike you in the brain, you’re not going to make an awful lot of work, Chuck Close
If people only knew how hard I work to gain my mastery. It wouldn’t seem so wonderful at all, Michelangelo
3D Character modelling refers to the process of creating 3D characters using special software, such as Poser, Daz 3D, Character Creator, Mixamo, MakeHuman, Maya, and VRoid Studio.
If you want to build and use posable 3D drawing figures, you should read our article How to find art references, create and use 3D models.
Daz Studio
Daz Studio is a fun and easy to learn free 3D figure customization, posing, animation, and scene creation tool developed by DAZ 3D. It enables anyone to create digital illustrations and animations.
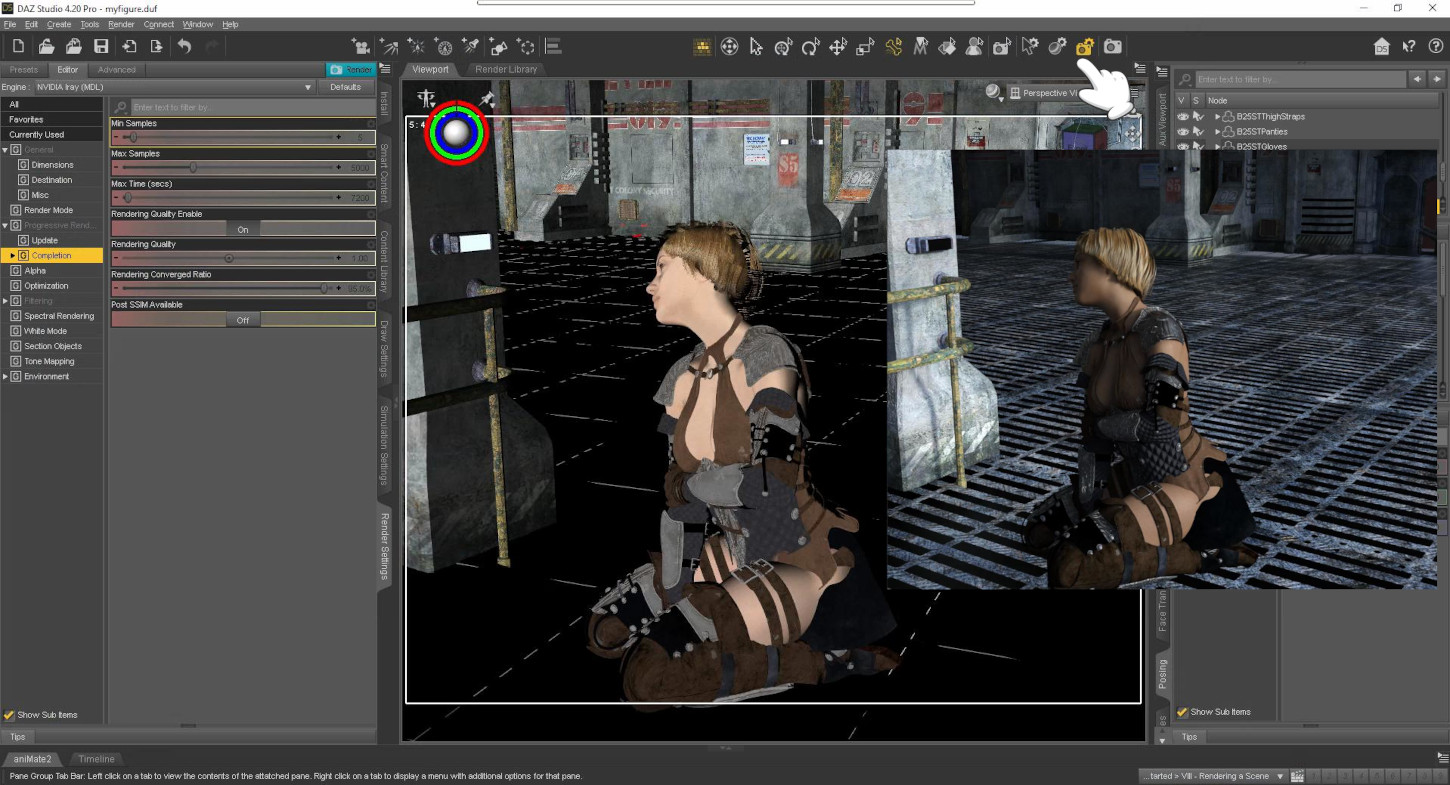
- Start a new scene by clicking the New (Ctrl + N) button in the main menu bar. Switch the active renderer to NVIDIA Iray (it is a rendering engine that can produce photorealistic images) by going to the Render Settings pane, Engine: Nvidia Iray.
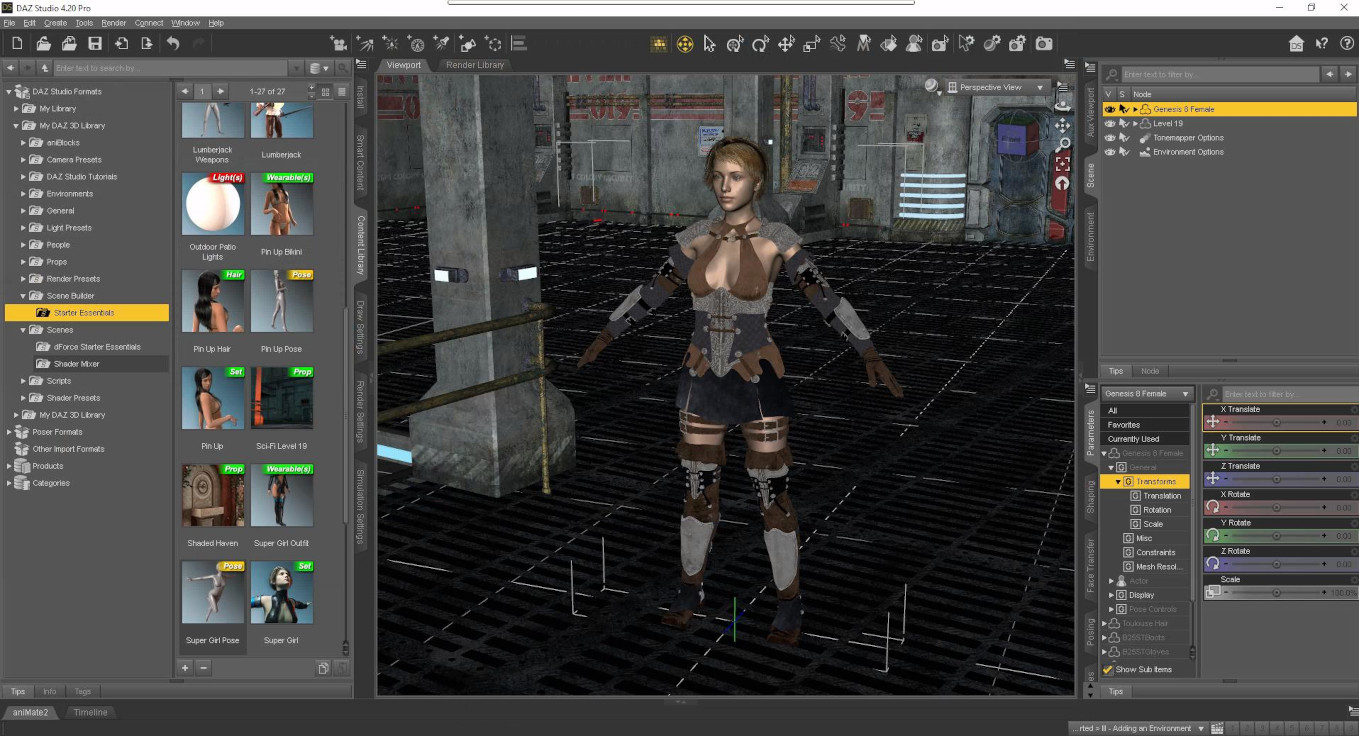
- Set up a character in Daz Studio by going to the Content Library pane (it lists all your assets that can be used within Daz Studio). Navigate through DAZ Studio Formats, My Daz 3d, Library, People, Genesis 8 Female, and double clic on Genesis 8 Basic Female.
- Save your scene: click on the Save action under the File menu bar (Ctrl + S).
- Dress your model. First, make sure your model is selected (Scene, Genesis 8 Female). Second, go to the Content Library pane, and navigate through DAZ Studio Formats, My Daz 3d, Library, People, Genesis 8 Female, Clothing, Shadow Thief, and double click on Shadow Thief Outfit. It will automatically load and fit your character perfectly.
- Go to the DrawStyle Options menu, switch to Texture Shaded to see all the materials on your characters. Besides, you can change your clothing textures: DAZ Studio Formats, My Daz 3d, Library, People, Genesis 8 Female, Clothing, Shadow Thief, Material, Iray.

- Let’s add some hair: go to the Content Library pane and navigate through DAZ Studio Formats, My Daz 3d, Library, People, Genesis 8 Female, Hair, Toulouse Hair.
- Next, let’s create an environment. First, uncheck Filter by Context (it will only show things that are made to be added to what you have currently selected in your scene) in Smart Context because a person cannot wear an environment. Second, load an environment: My Daz 3d, Library, Scene Builder, Starter Essentials, Sci-Fi Level 19.
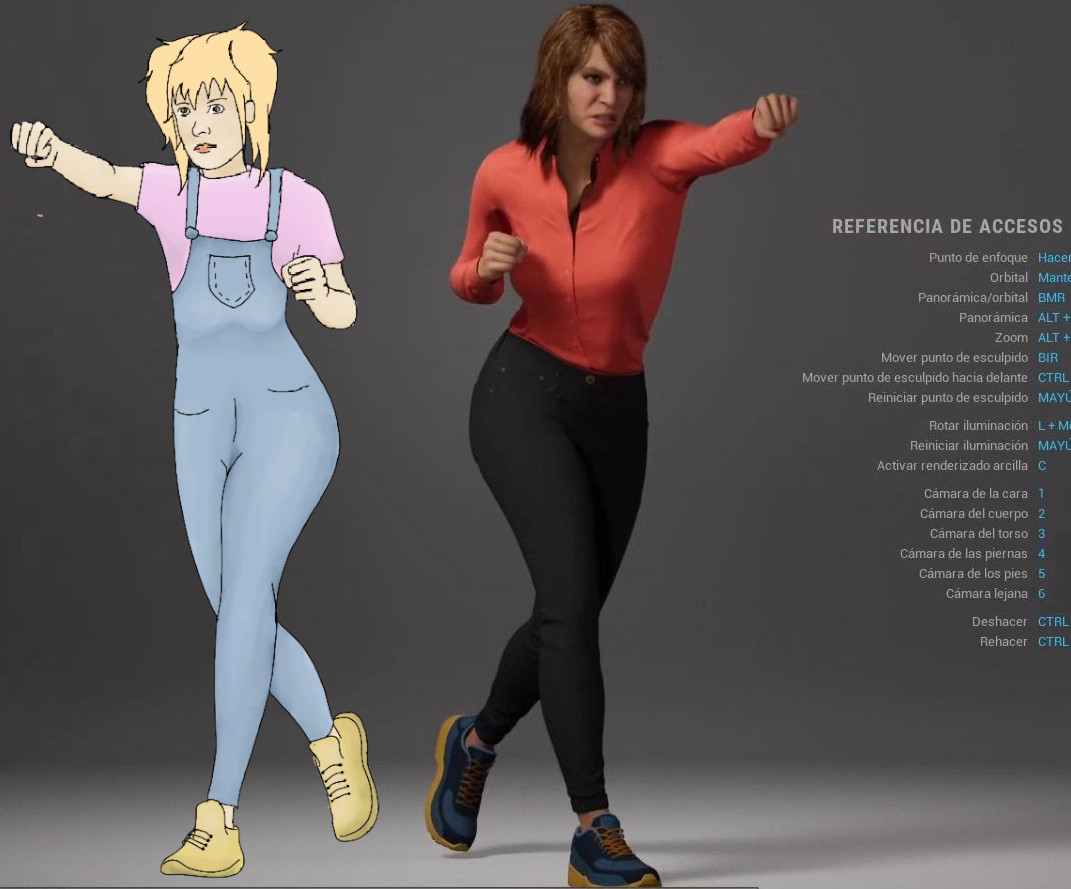
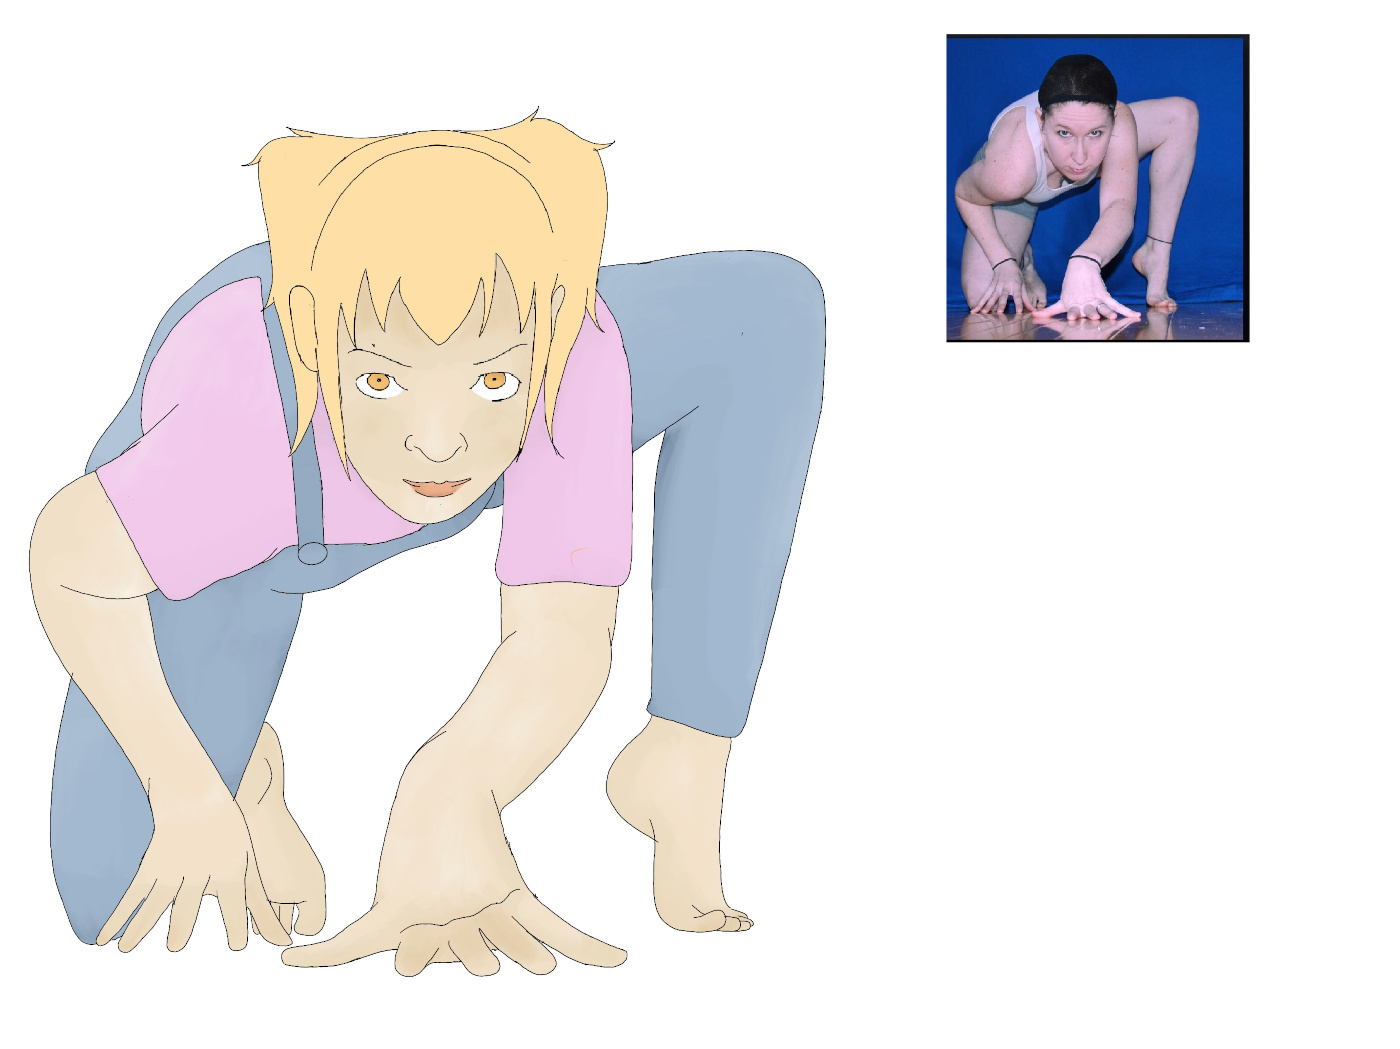
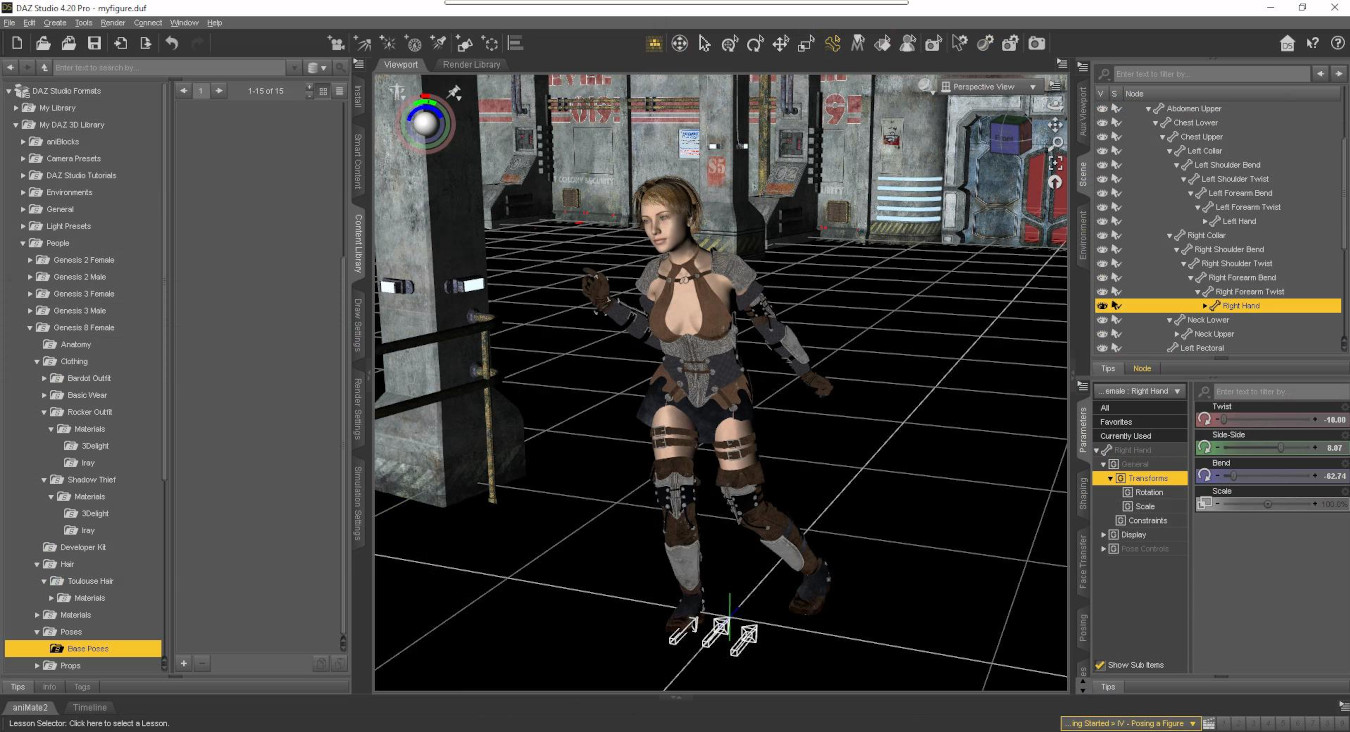
- Now, it is time to pose our model. First, check Filter by Context in Smart Context. Second, navigate through DAZ Studio Formats, My Daz 3d, Library, People, Genesis 8 Female, Poses, and select a pose. Finally, select the Parameters tab, General, Transform. There are a lot of sliders that are associated with adjusting your character: translate and rotate your character along the different axis, scale (it changes your model’s size), etc.
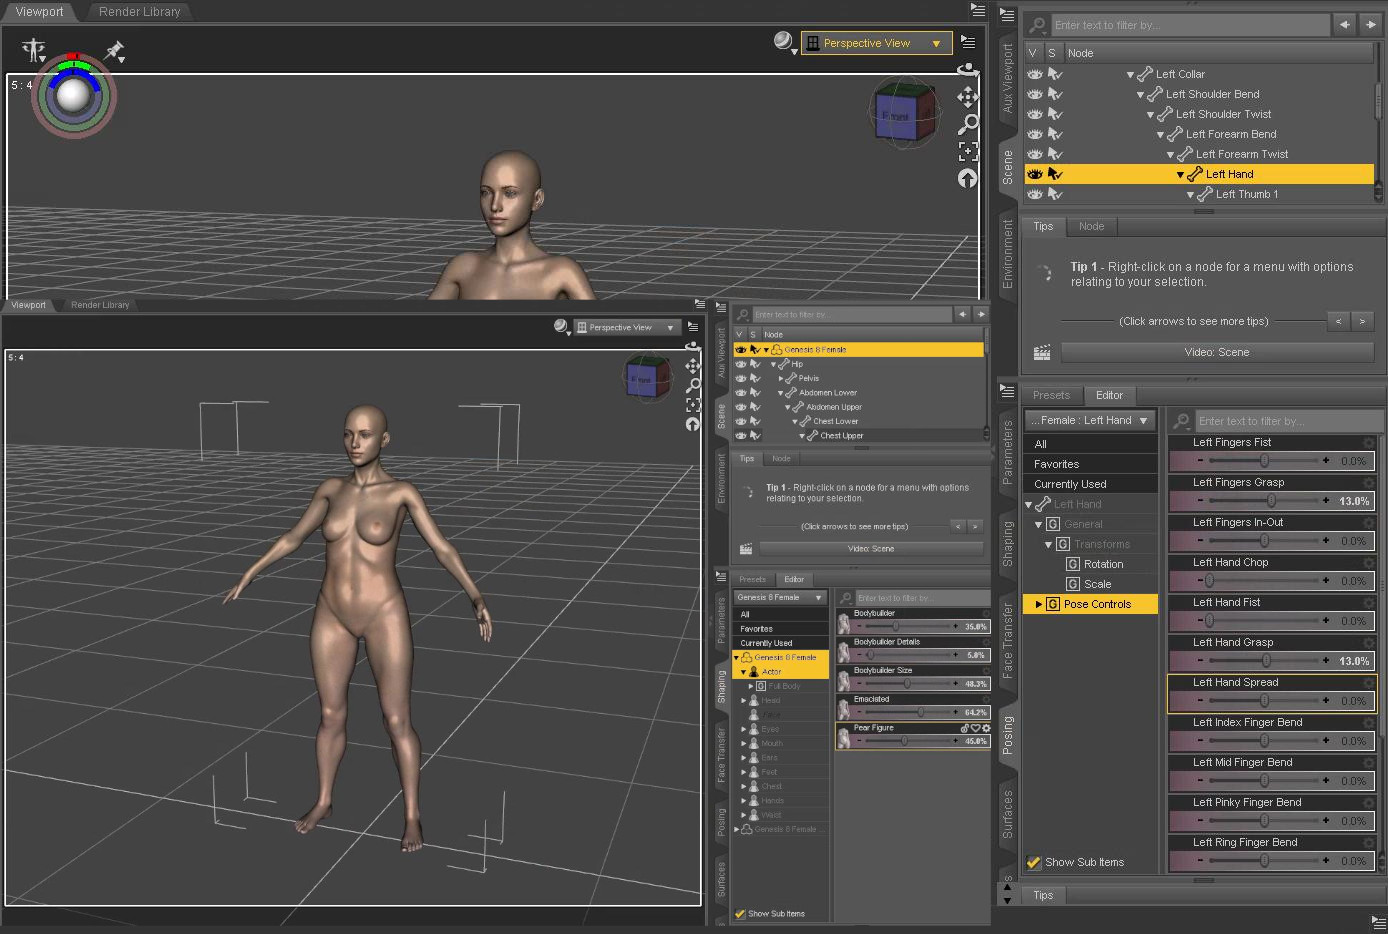
If you want to fine tune your model, select one part of its body and the transform controls will allow you to bend, move side-side, and twist it. There are also two important subsets of parameters: Posing (it displays any parameter that moves part of the model’s body via bones) and Shaping (it contains controls to adjust the shape of your character).
- Rendering is the process of creating 2d images or animations from a 3D scene. Go to the Render Settings pane, then the first tab is General, we have setting for Dimensions, Destination (you can set where the final render files are going to be stored and their type, such as Still image, Image or Movie), and Misc. Finally, to render your scene under the current settings, open the Render menu in the main menu bar and select the Render action (Ctrl/Cmd +R) or just click on the camera .
Dimensions is where you can set the resolution and ratio of your render, e.g., Dimension Preset (Global) as Full HD/1080p and Aspect Ratio as 16:9.
- To import Poser’s content: Content Library, Display options, Content Directory Manager, Poser Formats, click on Add to add the directory where you have your Pose’s content, e.g., D:\Poser Content. To access this content, Content Library, Poser Formats.
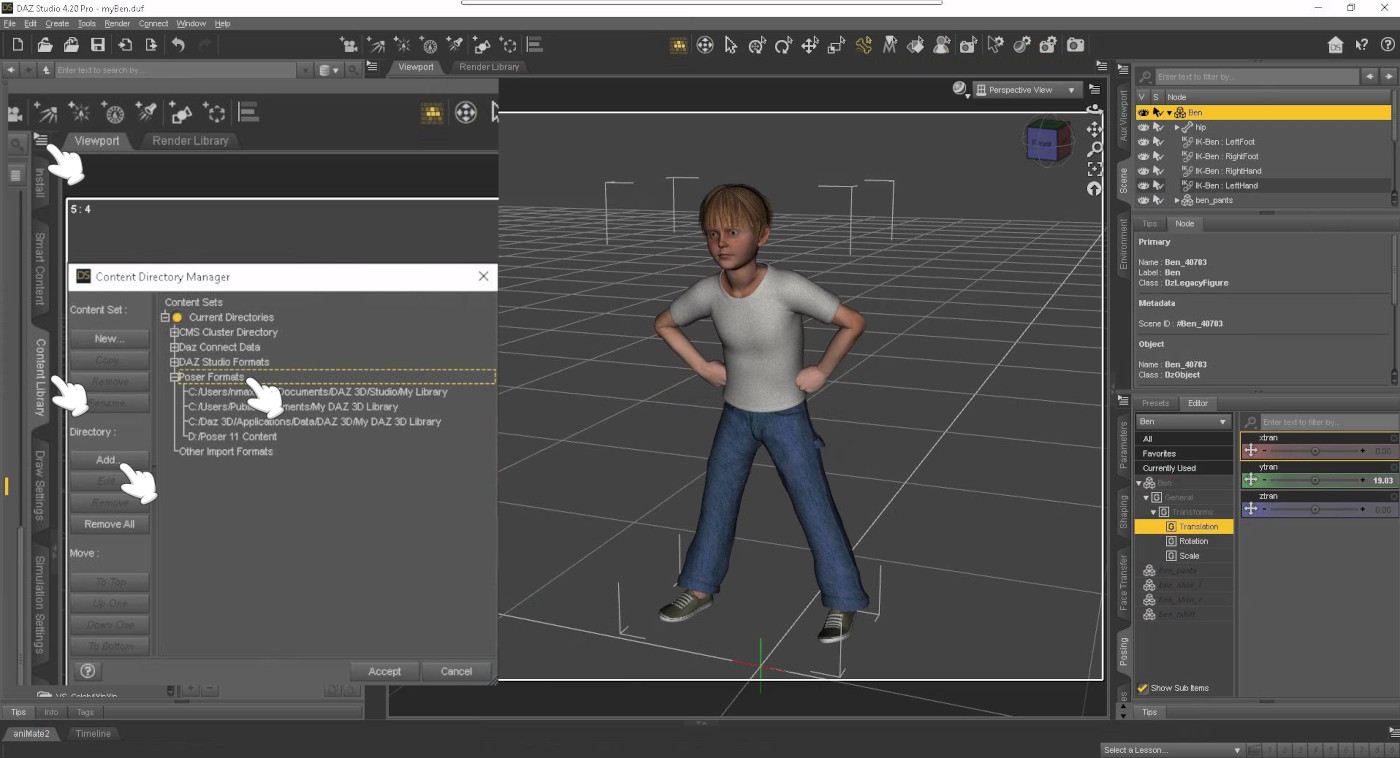
If you right click on a shirt, pair of trousers, shorts, whatever, right click on it, and select Fit to (e.g., Fit ben_shoe_r To..) the figure (e.g., Ben), it should fit reasonably well.
VRoid Studio
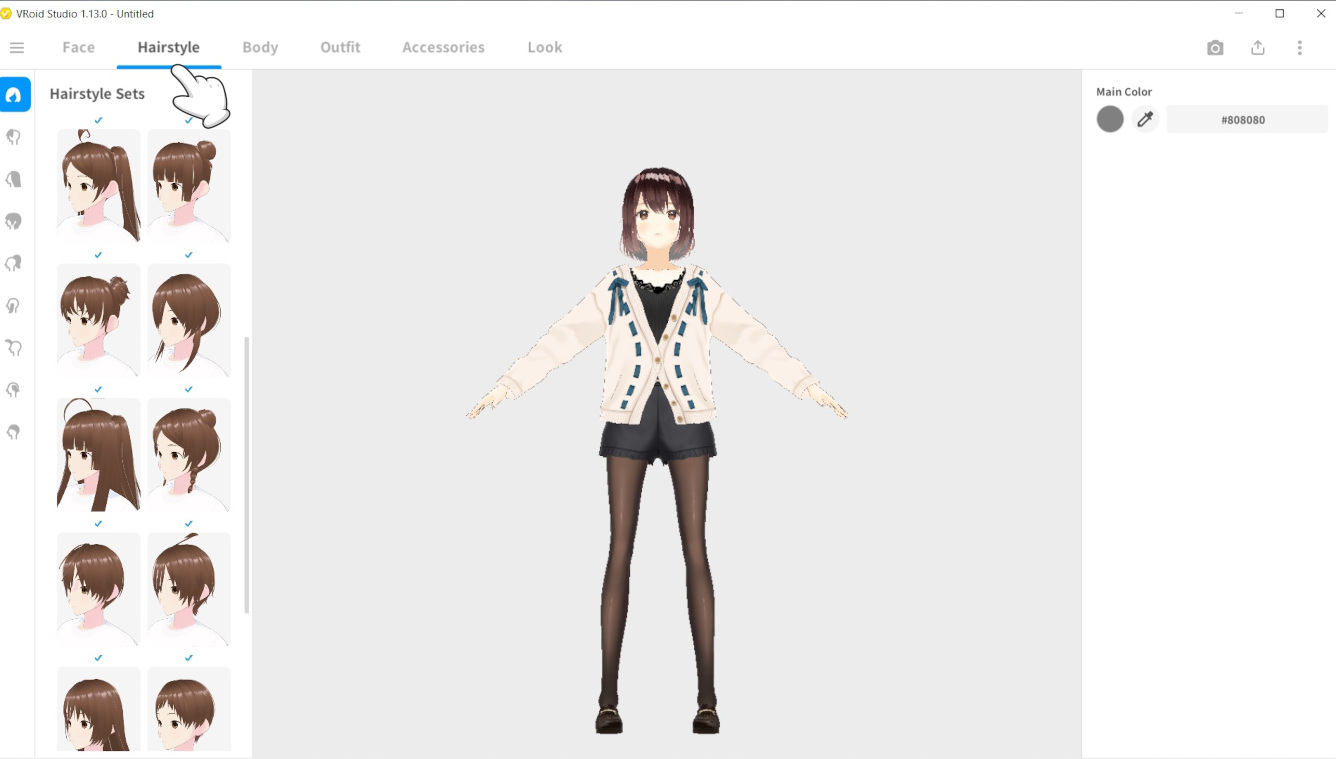
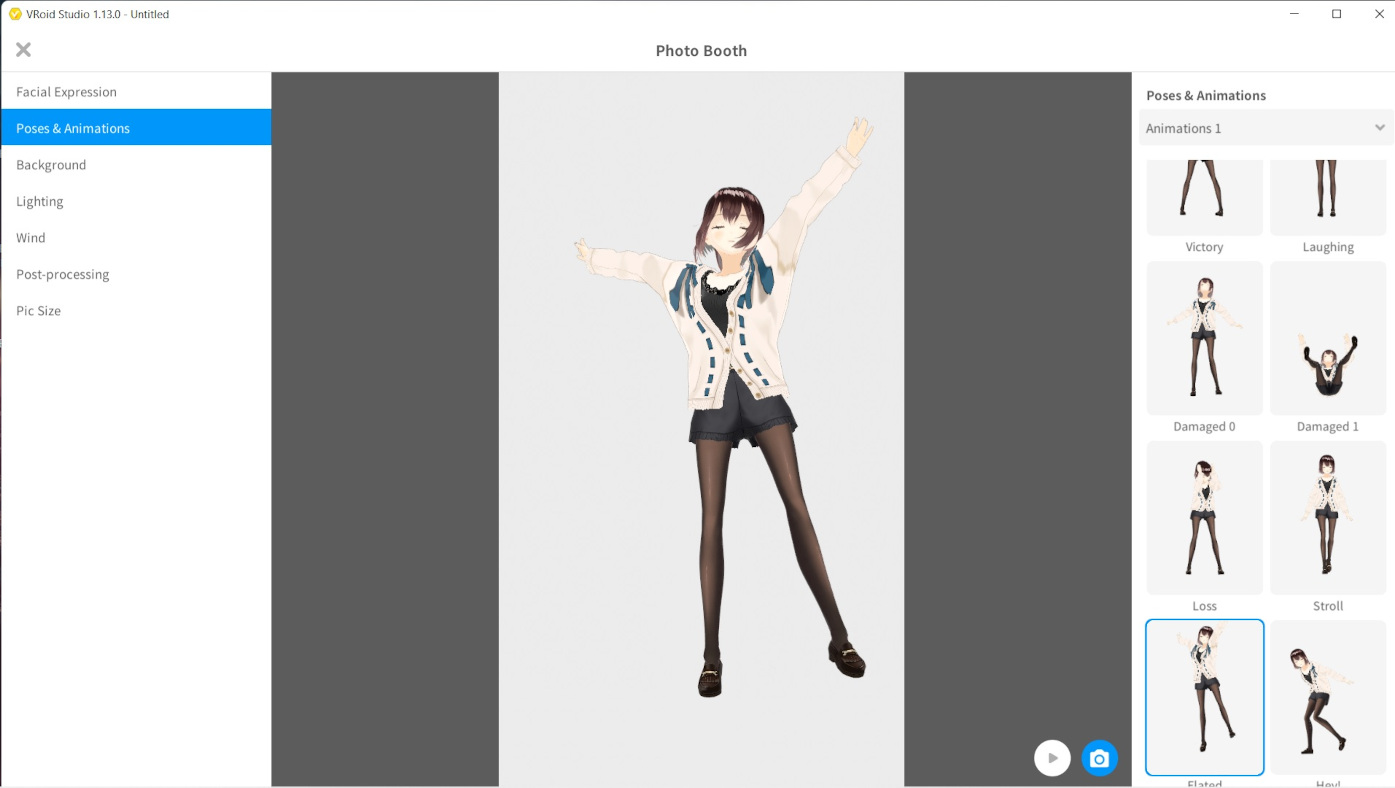
VRoid Studio is a free application to create 3D models of humanoid avatars. It is available on Windows and macOS. After you install and launch VRoid Studio, click Create New to start a new character or use a sample model.

Next, you can select a base to start with (Female or Male), then edit your model by selecting among the different categories at the top (Face, Hairstyle, Body, Outfit, Accessories, and Look) and predefined presets in each category to choose from.
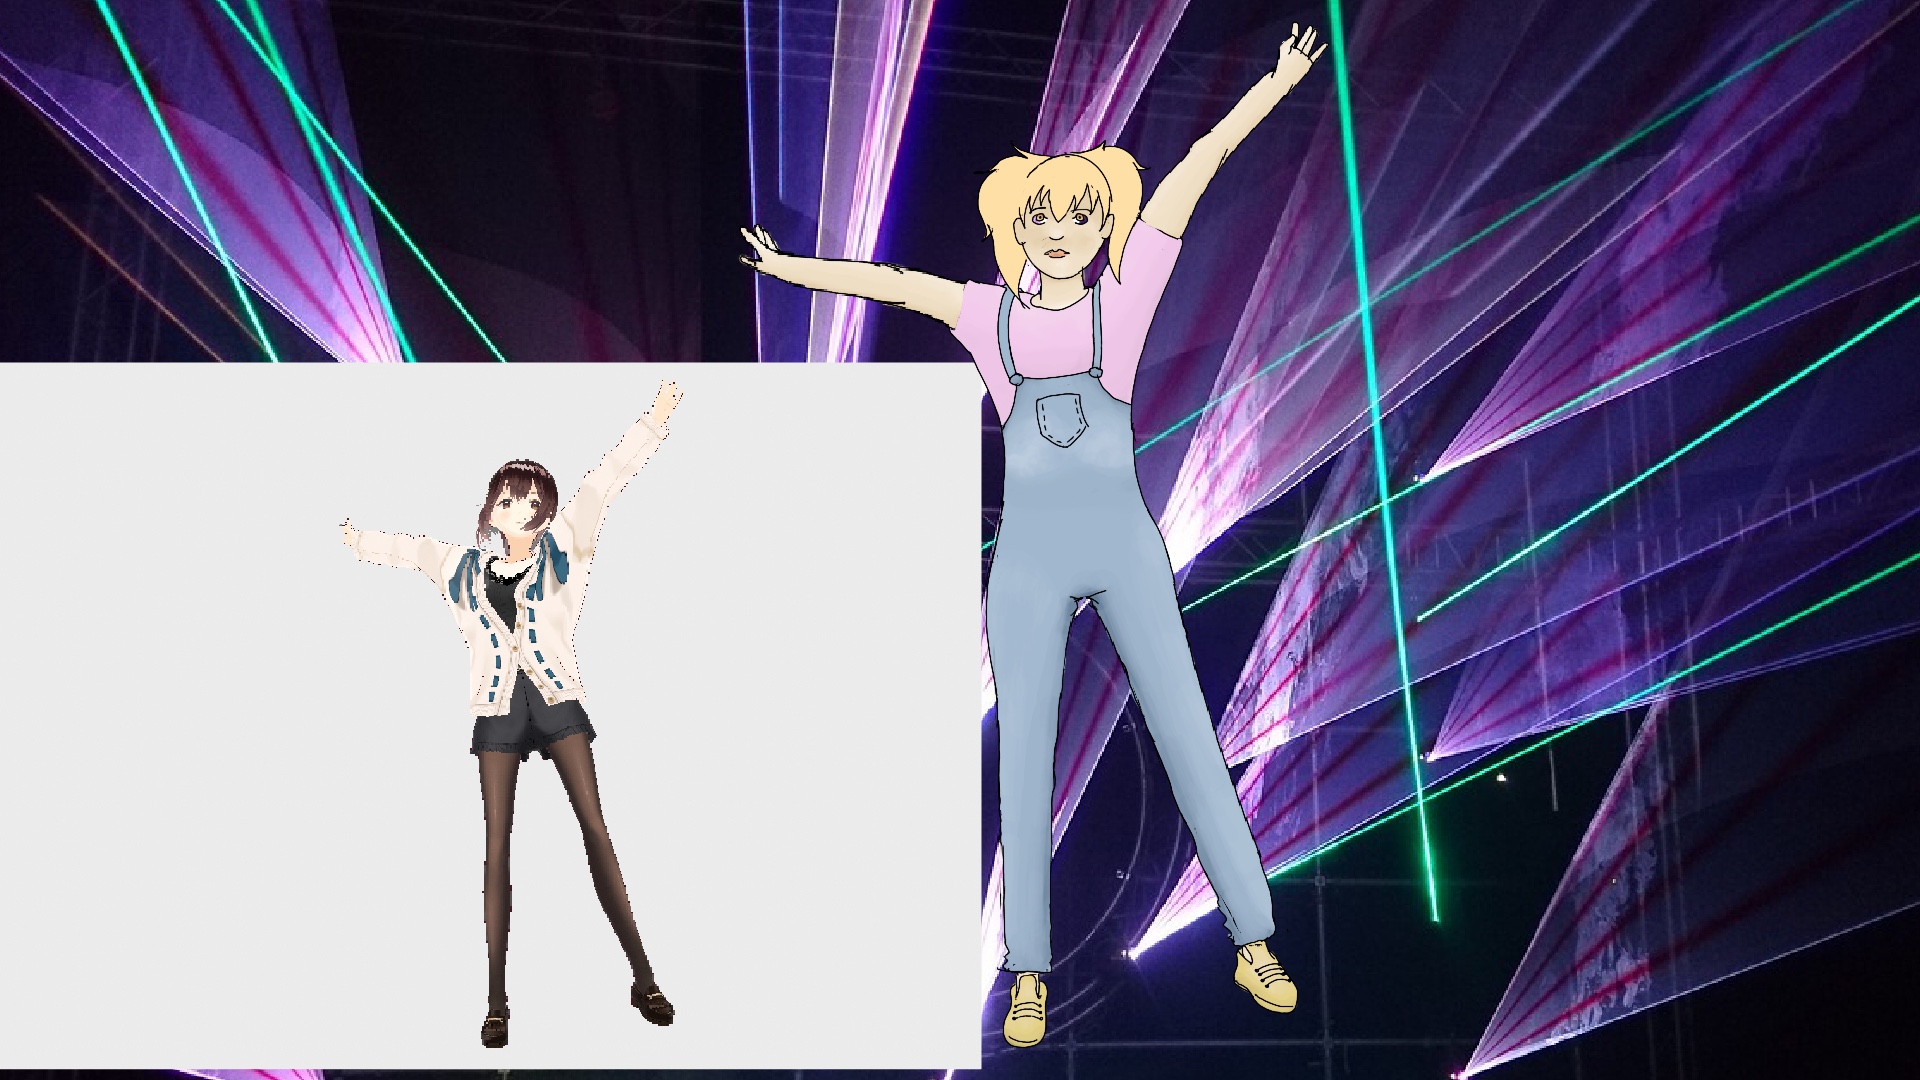
Once you are happy with your character, you can take photos or screenshots by clicking on the camera icon on the right top corner of the application. You can adjust the pose, facial expression, the background color, light effects, etc.
Besides, you can create a 3D anime character. Click the export icon next to the camera icon at the top-right, then select Upload to VRoid Hub/Export as VRM, and export it to the Unity game engine, VRChat, Blender, VRoid Hub, etc.
Poser
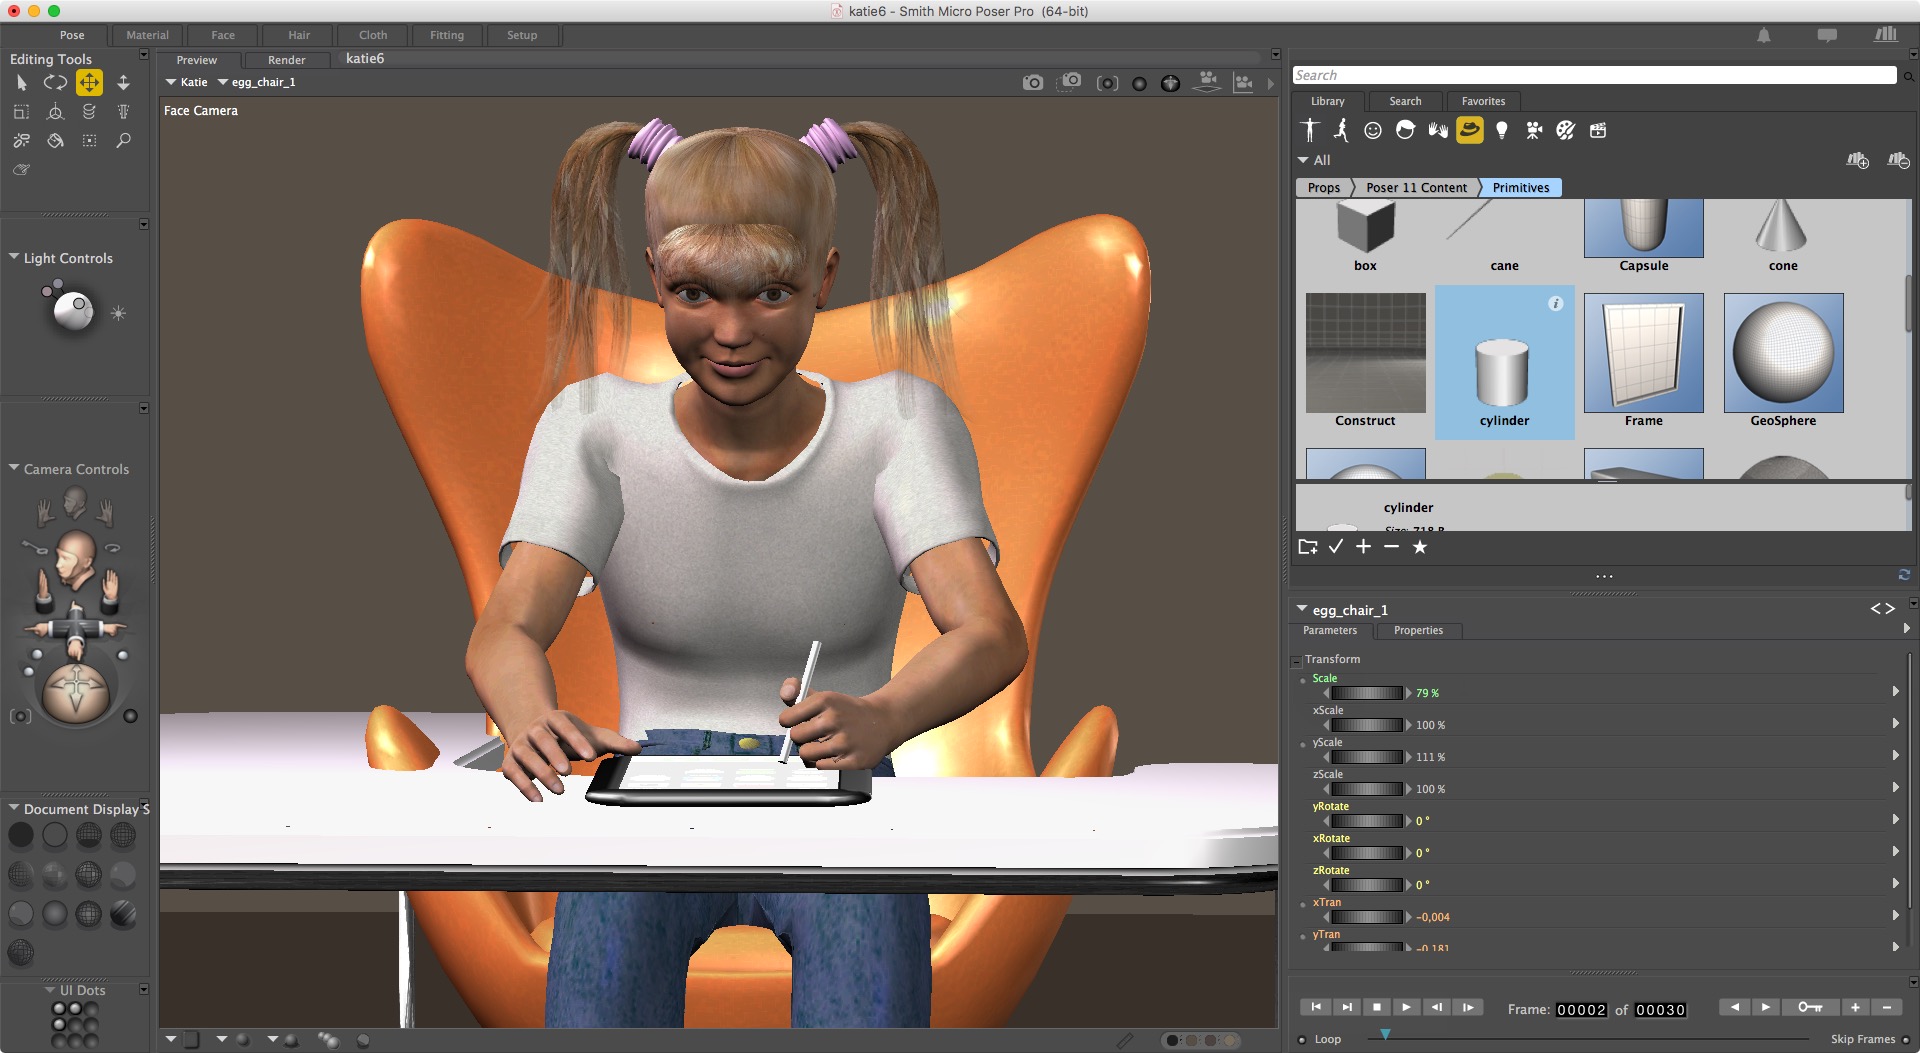
Poser is an easy to use 3D computer graphics program optimized for 3D modeling of human figures. It allows users the ability to illustrate and animate. Unfortunately, Poser is not free.
The Pose room is pretty much the center of almost everything you will do in Poser. This is where you add figures and props to your scene and perform your posing and animation.
Once you’ve chosen a starting figure and a pose from the library, Poser has several built-in features to help you customize the pose further. The editing tools, such as select, rotate, translate, scale, or twist, contains the tools you use most often when posing figures or props.
Poser supports Inverse Kinematics. It means that you can move your model’s right hand and Poser will calculate the appropriate model’s right arm position automatically -its hand, arm, and shoulder will move accordingly to accommodate the hand’s new position.
Poser’s Library is divided into different categories: Figures (it contains some realistic human figures, cartoon characters, skeletons, stick figures, and animals), Poses (it holds the preset poses), Expressions (it contains many presets facial expressions), Hair, Hands (it contains posable hands that work with the content figures), Props (it contains conforming figured-based clothing, accessories, and other props), Lights, Cameras, Materials, and Environments. These are all the content you need to create a scene or animation with Poser.
You’ll use the Hair, Cloth, Material, and Face rooms to set up and animate your figures and props. Poser’s hair room allows you to create dynamic strand-based hair, mustache or beard for your 3D models. Poser’s cloth or “dressing” room allows you to create realistic cloth for your figures.
Typically, you will use conforming hair and clothing. These objects are applied to the scene as figure items and can be made to conform to the current pose for the current figure. Once they are conformed, the hair and clothing items will move along the figure automatically.

Mixamo
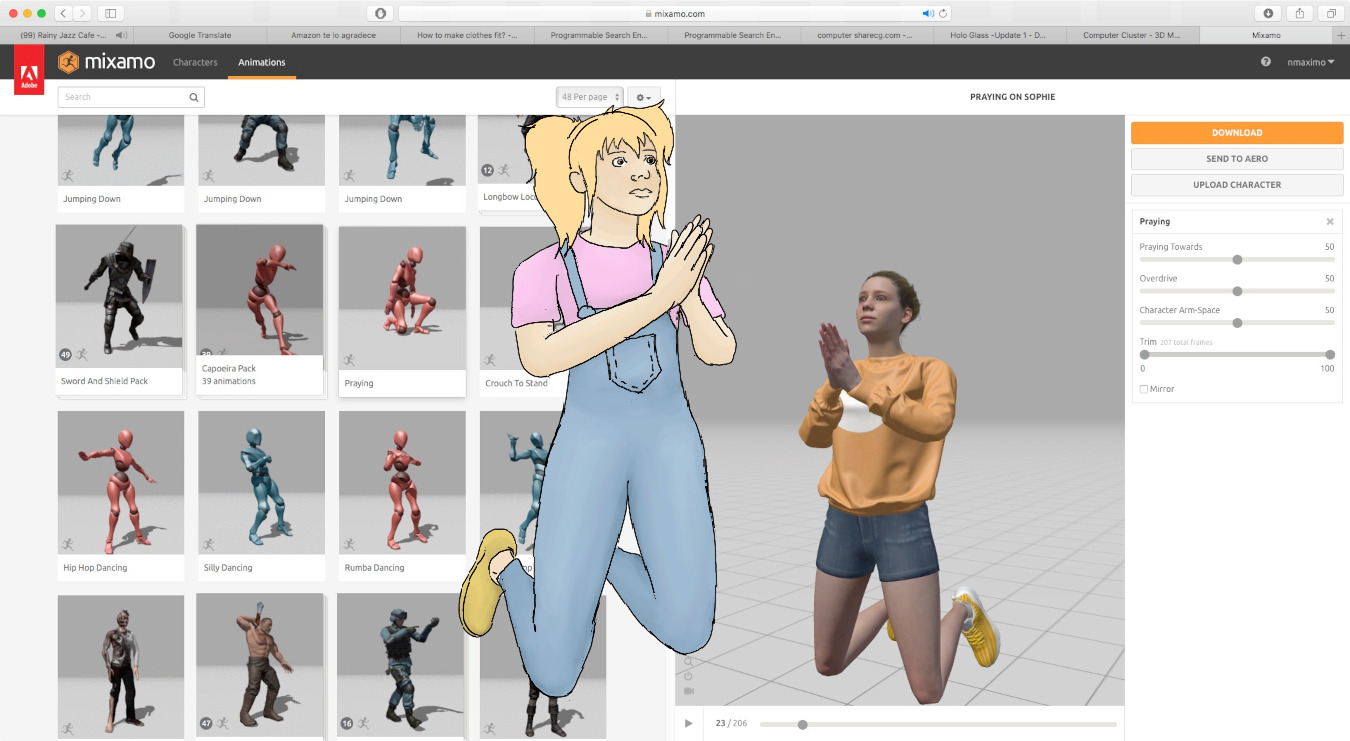
Mixamo is a free online service that has a vast collection of characters, animations, and tools for easily rigging and animating 3D characters.
Rigging is the process of creating a virtual skeleton that defines how different parts of the model’s body are connected and how they move related to each other.
You can learn about Mixamo in our article How to animate with Mixamo and Unity
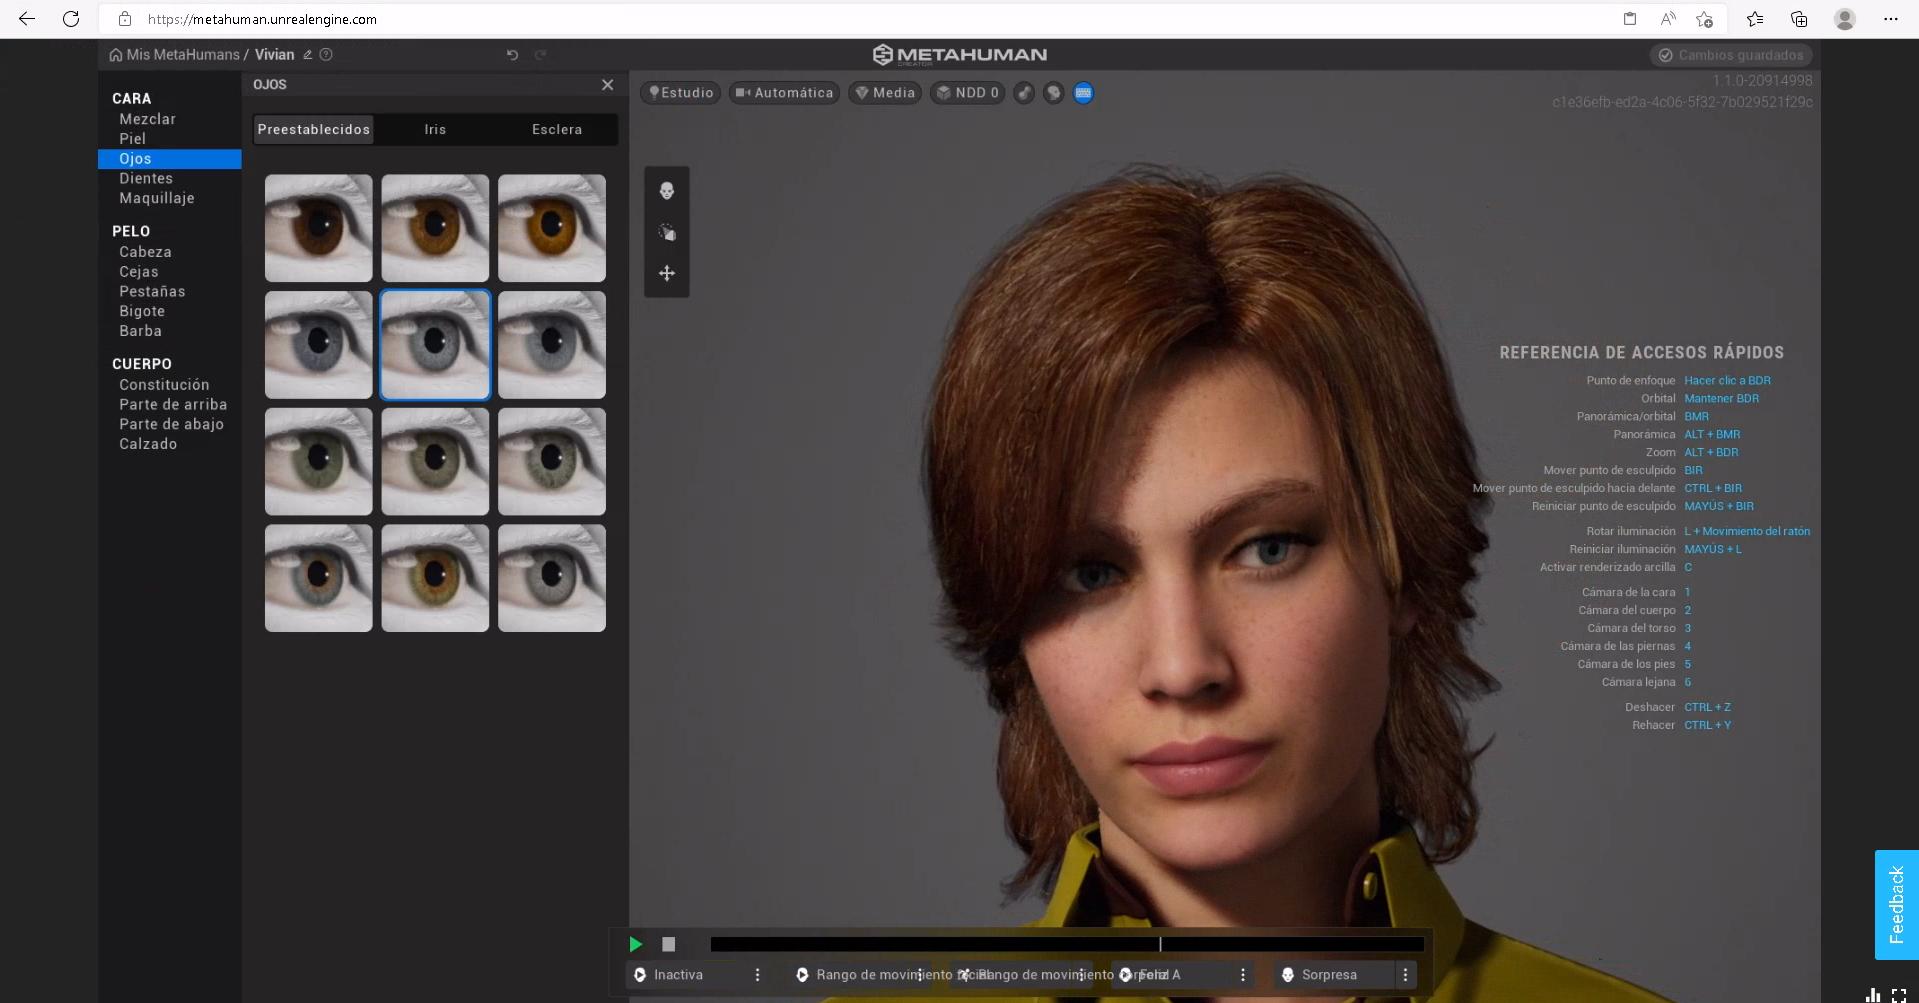
MetaHuman is a complete framework that gives any creator the power to use highly realistic human characters in any way imaginable. It is a free cloud-based app that enables you to create fully rigged photorealistic digital humans in minutes.
- Open the MetaHuman Creator and log into your Epic Games account.
- Under the Create MetaHuman (Create) pane, choose a character preset as your starting point. Click on Next (Create Selection) to create your MetaHuman.

- Next, the software will display all the editing options available for you to make changes and personalize your model. Any edits you make to your MetaHuman model, such as customizing its skin color and texture, setting the height, and body type, clothing, etc. are automatically saved in your gallery.
Besides, it includes a number of body poses and animations you can apply directly to your MetaHuman.
- When you are done, you can generate and download your MetaHuman assets from QuixelBridge, then export them to Unreal Engine 5 and Maya. After that, Unreal Engine provides a suite of animation tools for you to rig and animate characters directly in Unreal Editor (Control Rig).