Art washes away from the soul the dust of everyday life. Learn the rules like a pro, so you can break them like an artist, Pablo Picasso.
If you hear a voice within you say ‘you cannot paint,’ then by all means paint, and that voice will be silenced, Vincent Van Gogh.
Drawing is an art that gives us a sense of peace, fulfillment, and pleasure.If you draw when you are feeling agitated, grumpy, and stressed out, you may end up feeling a little more relaxed, content, and at peace.
There are many great apps for drawing illustrations and comics digitally such as Procreate, Clip Studio Paint, Gimp (a free cross-platform image editor), Krita (an open-source and free painting software), Photoshop, and MediBang Paint (a free digital painting and manga creation software).
Procreate
Procreate is the most powerful, affordable, and intuitive digital illustration app available for iPad. There is not subscription or renewal fee, you just pay for the app once and that’s all.
- The Official Procreate Handbook is an excellent and essential resource to learn about Procreate. luma_llama, Intro to Procreate - The Basics for Beginners in 10 Minutes is a brief, practical, and useful introduction to this awesome app.
- On the top right menu bar you’ll find the painting tools: paint (sketch, ink, and paint with different brushes), smudge, erase, layers, and color. On the left toolbar you’ll have the modification tools: brush size, modify button (it brings up the eyedropper), brush opacity, and undo/redo arrows. Editing tools, such as Gallery, Actions, Adjustments, Selections, and Transform, are at the top left.
- To add text, tap Actions, Add Text, and use your keyboard to type into your text box.
- To install a brush (.brush) or a brush set (.brushset), open Safari and go to Brushes for Procreate. Tap All Free Brushes, select a brush that you want to install, and tap Download brushset. A popup will appear to confirm your download, Do you want to download “School_Backpack_brushset”? Tap on Download. When the download is completed, tap the Safari’s downloads button and click the brushset you have just downloaded. Procreate will open and you will see an importing message. Sometimes, you need to download a zip file, containing the brushes. Tap on the zip file, then Preview Content, find the brush or brush set, Share, Save to Files. Finally, just click on the brush file, it will open Procreate and import your brush.
- QuickLine and QuickShape. Try to draw a line, don’t lift your pencil from the screen, but hold your pen down, and after half a second approximately, the line will become straight. You can achieve straight lines while drawing shapes, such as triangles, circles, and squares. Besides,draw a circle and hold your pen down, then tap and keep holding the pencil down to make a perfect circle.

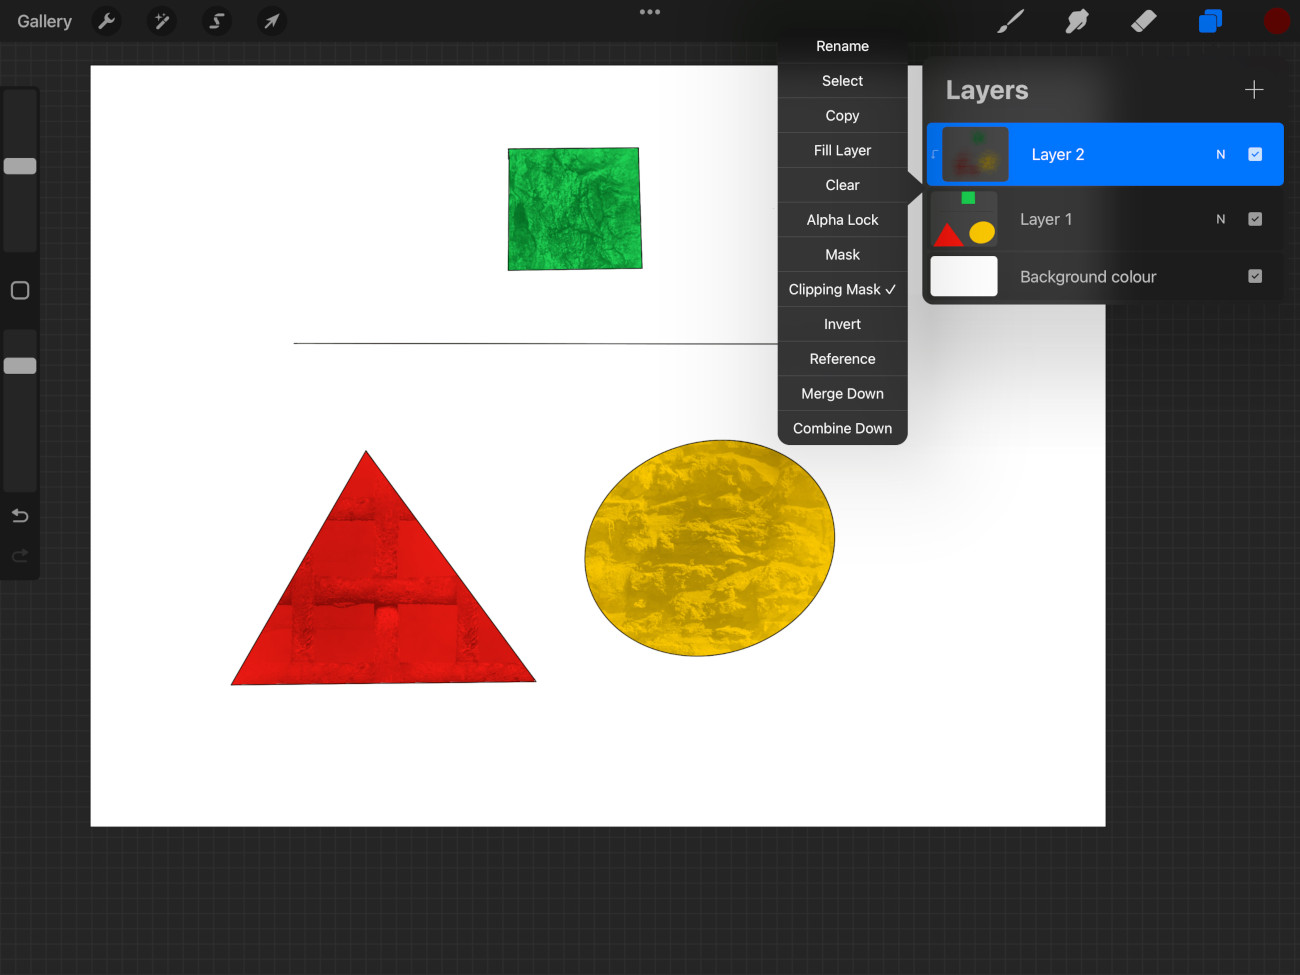
- Alpha Lock and Clipping mask. First, create your drawing. Then go into the layer menu and select Alpha Lock. From now on, any details you draw or color will stay within the boundaries of your layer. In other words, you won’t color outside the lines or pixels of your original drawing. Clipping mask is quite similar. First, you create your drawing. Second, add a new layer and select Clipping mask. The base layer will then become a mask and you won't color outside the lines of your original picture.
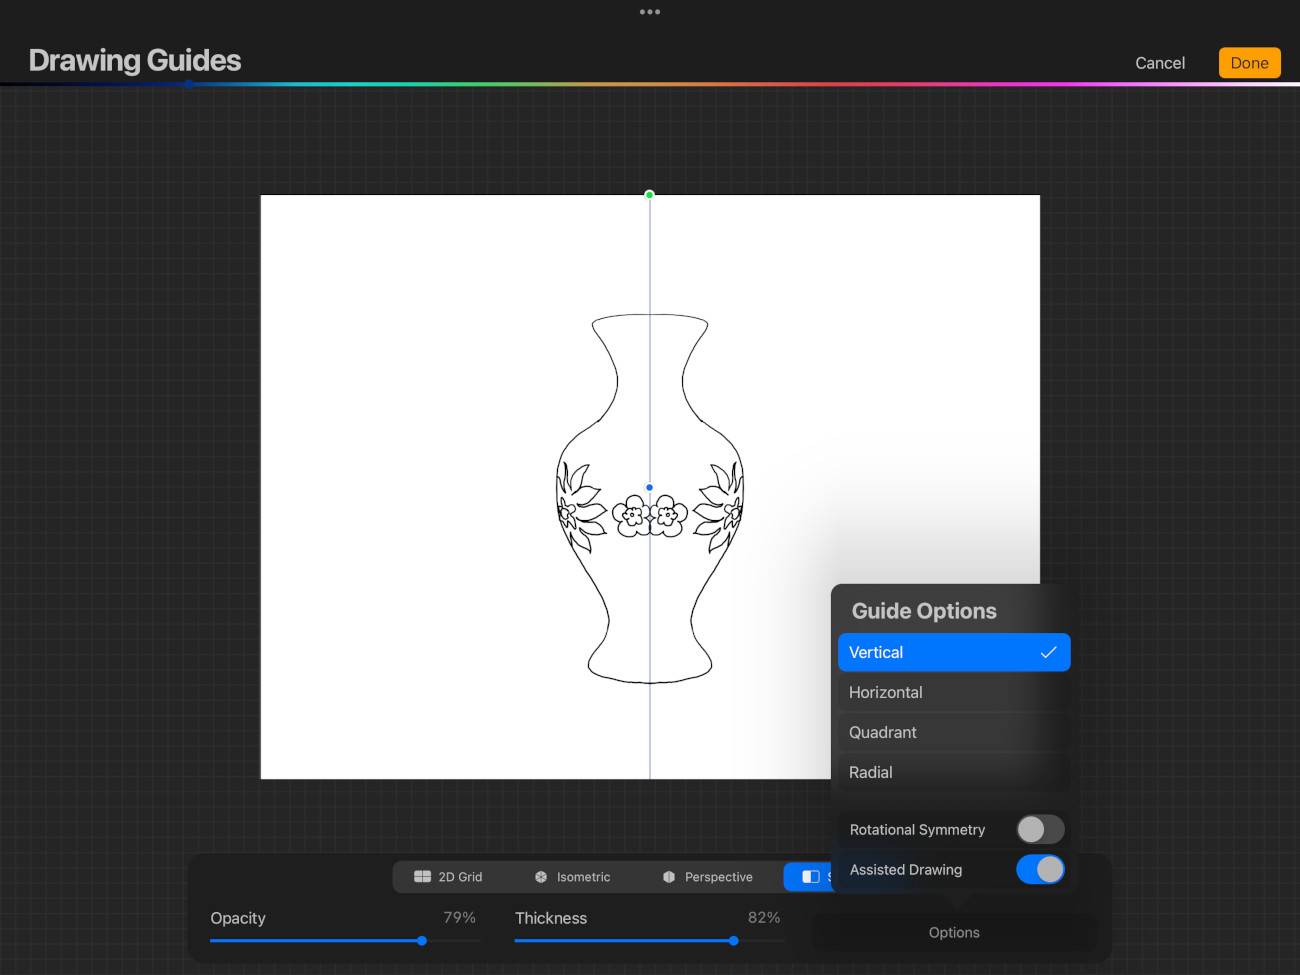
- Draw with vertical symmetry. Click on the wrench to open the Actions window, switch to Canvas, toggle on the switch next to Drawing Guide, and tap Edit Drawing Guide. There are a few options: 2D Grid, isometric, perspective and symmetry. Select the last one, then tap Options, Vertical and make sure that Assisted Drawing is enable.
- Create two layers, one layer for shadows and a second one for highlights with linear Blur (opacity around 50% and draw your shadows with a grayish purple) and add (opacity around 30%, and draw your highlights with a bright yellow or orange color) as blending modes respectively.
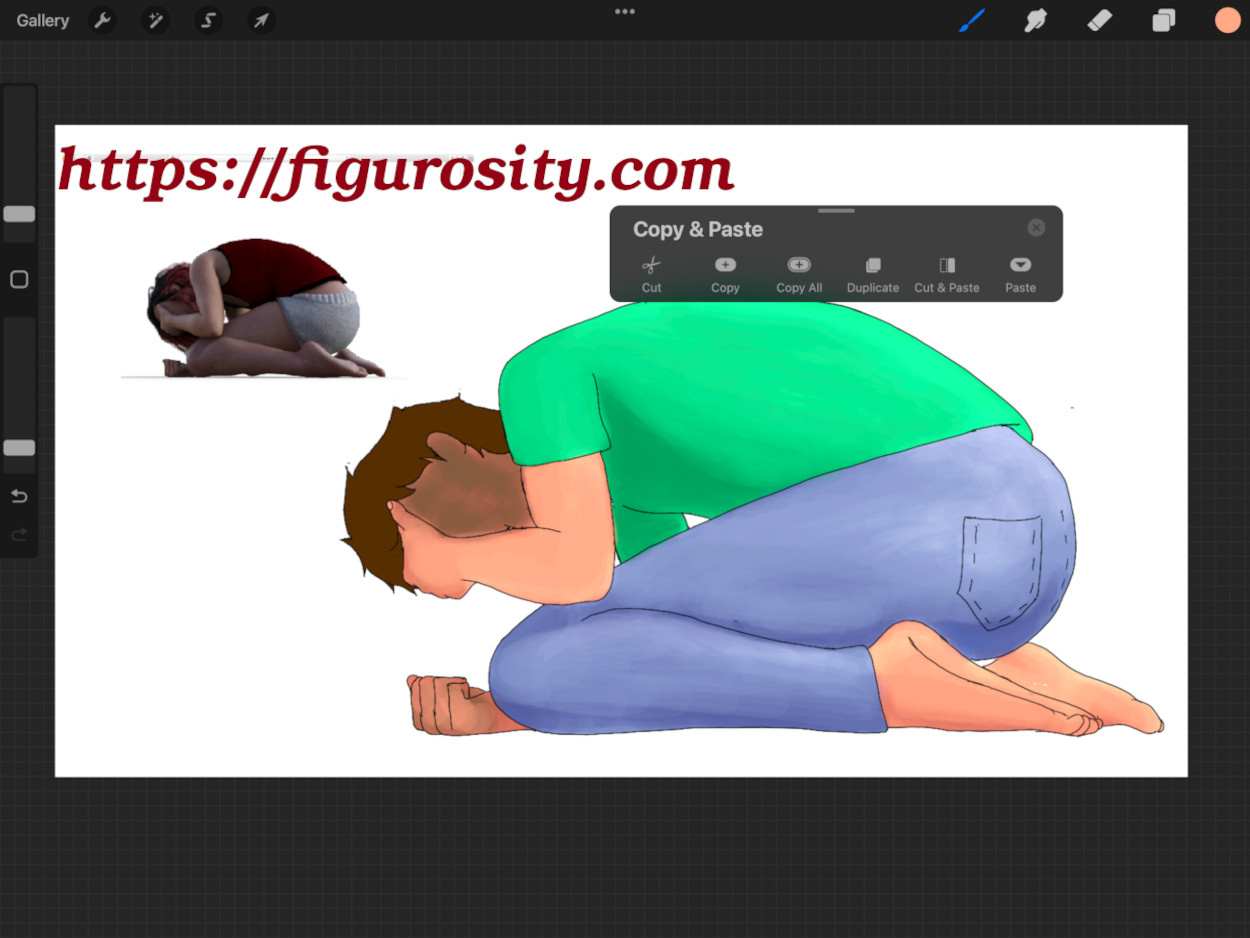
- Gestures. Pinch your fingers together to zoom in and move them apart to zoom out. To undo your previous action, tap the canvas with two fingers. To undo a series of actions, tap and hold two fingers on the canvas and lift your fingers to stop. Similarly, to redo any action you have previously undone, tap the canvas with three fingers. To redo a series of action, tap and hold three fingers on the canvas and lift your fingers to stop. Swipe three fingers down the screen to call up the Copy and Paste menu. To clear a layer, move three fingers side to side in a scrubbing motion.
- To export a picture in procreate, click on the wrench to open the Actions window, tap Share, pick a file type, such as PSD (Photoshop), JPEG (it is used to compress images), and PNG (it is normally the way to go. It supports lossless compression and transparency), and save it or export it: Gmail, Dropbox/Google Drive, AirDrop (you can wirelessly send your pictures to nearby devices), Save image, etc.
- Make some adjustments by clicking the magic wand icon (Adjustments) in the top left corner: Hue (color), Saturation (intensity of the color), Brightness (lighten/dark your artwork); Colour Balance (it allows you to work with colors and constrains these adjustments to the shadows, midtoones or highlights by clicking on the sun icon to the left); Gaussian Blur (it is used to blur images and backgrounds); Bloom (it creates a glow around an object); etc.
- To activate the selection tool (a curly ribbon looking icon), tap on the selection icon on the top menu. It offers four different ways to select: automatic (it selects an area of your artwork automatically), freehand (it allows you to take control and draw your selection), rectangle and eclipse, so you can create rectangle/oval shaped selections. Once you’re done, click on the Transform tool (an arrow icon in Procreate’s top menu) and you can resize your object without regard for the proportions of it (Freeform), resize your object proportionally (Uniform), distort, flip, rotate, or warp (it displays a grid. You can drag the corners, sides, or the inner mesh to transform and distort the image) your artwork.
Clip Studio Paint
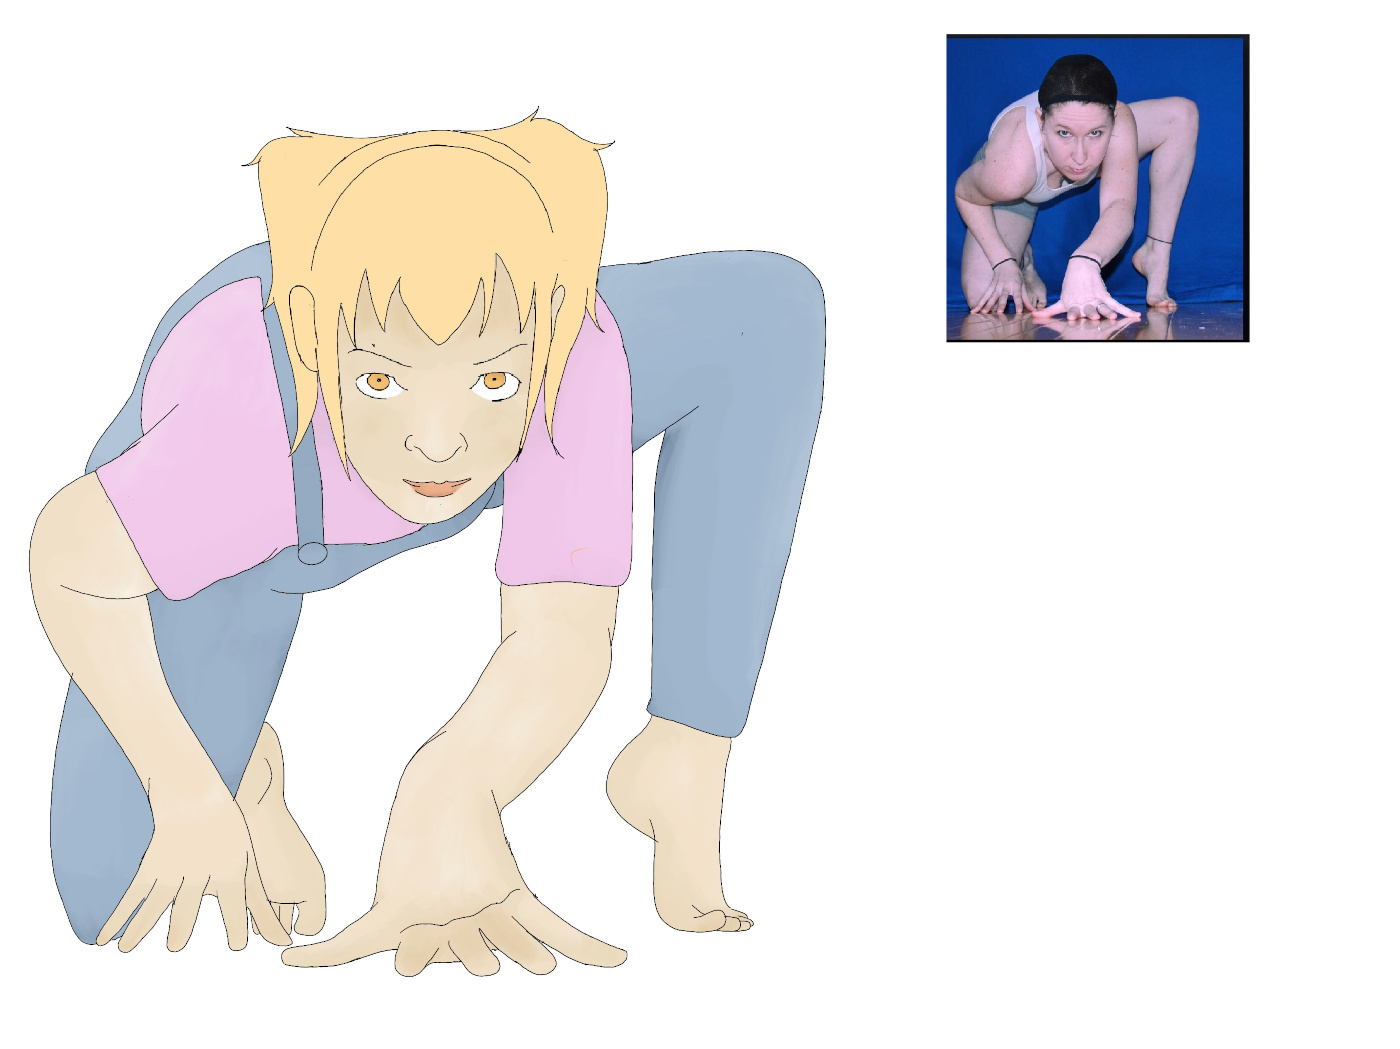
Clip Studio Paint is one of the best drawing applications. It includes “3D models of characters, items, and backgrounds that you could pose and angle to further help as a visual reference.” It can also extract a pose from an image using the Pose Scanner. However, Clip Studio Paint is moving its business model towards a subscription based service, so I strongly advise you against using it.
The tool palette is found in the lef-hand side of the program. It gives access to varios drawing and editing tools, such as Zoom, Move, Pen, Rotate, Pencil, Brush, Eraser, etc. Typically, there is a canvas or drawing space in the middle and six more panels around it: subtool, tool property, color wheel, resources, navigator and layers. File, New creates a new illustration. File, Save as saves your canvas.
From the Materials window, drag and drop a 3D model into your scene: All materials, 3D, Body type. Next, pose your character: All Materials, 3D, Pose.
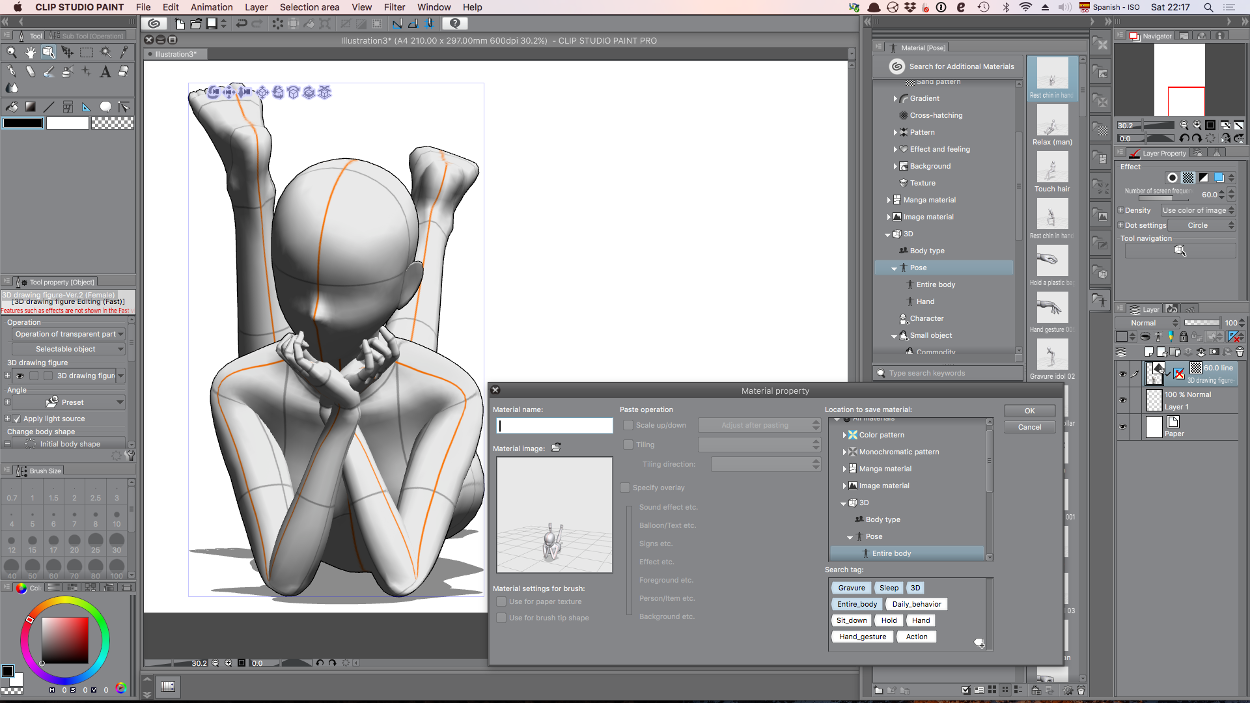
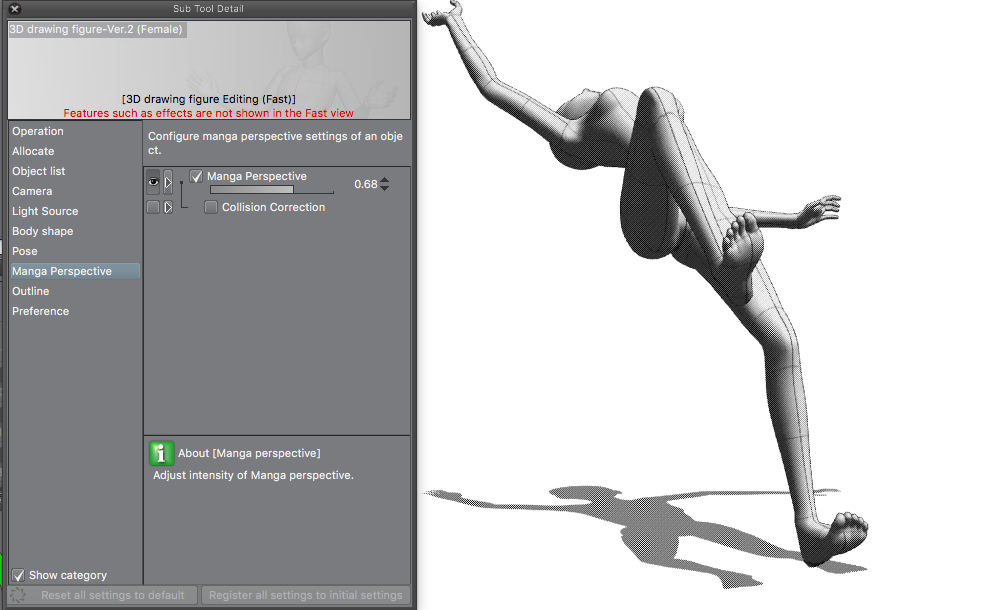
Hands can be posed on a character either by clicking on each individual finger joint or by using 3D, Pose, Hand. On the tool palette, select the operation tool (it is used to select and transform vector objects). Once you have selected your character, click on display object list. Switch to the Manga Perspective section. It allows you to configure a manga-like perspective with the depth emphasized when editing a 3D drawing figure. Besides, you can change the light source, the body shape, the camera, etc.
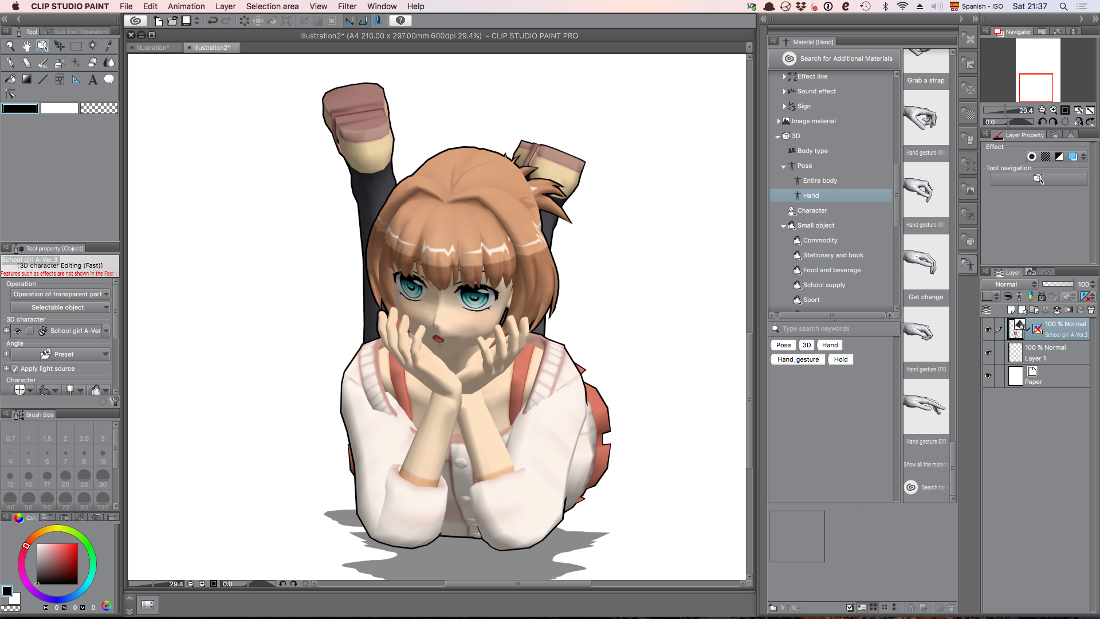
Alternatively, you could drag and drop one of the four default 3D Characters (there are two school boys and two school girls) into your scene: All materials, 3D, Character.
Resources
-
YouTube channels: Art for Kids Hub, Mark Crilley, Proko, Jazza, and Circle Line Art School.
-
More resources: The Etherington Brothers, DragoArt.com, Drawing Now, Drawing Coach, drawspace, eHow, HTDFC, PaintingTube, and wikiHow, Drawing.
-
Royalty free photos, illustrations, and vector graphics: Pixabay and WPClipart
-
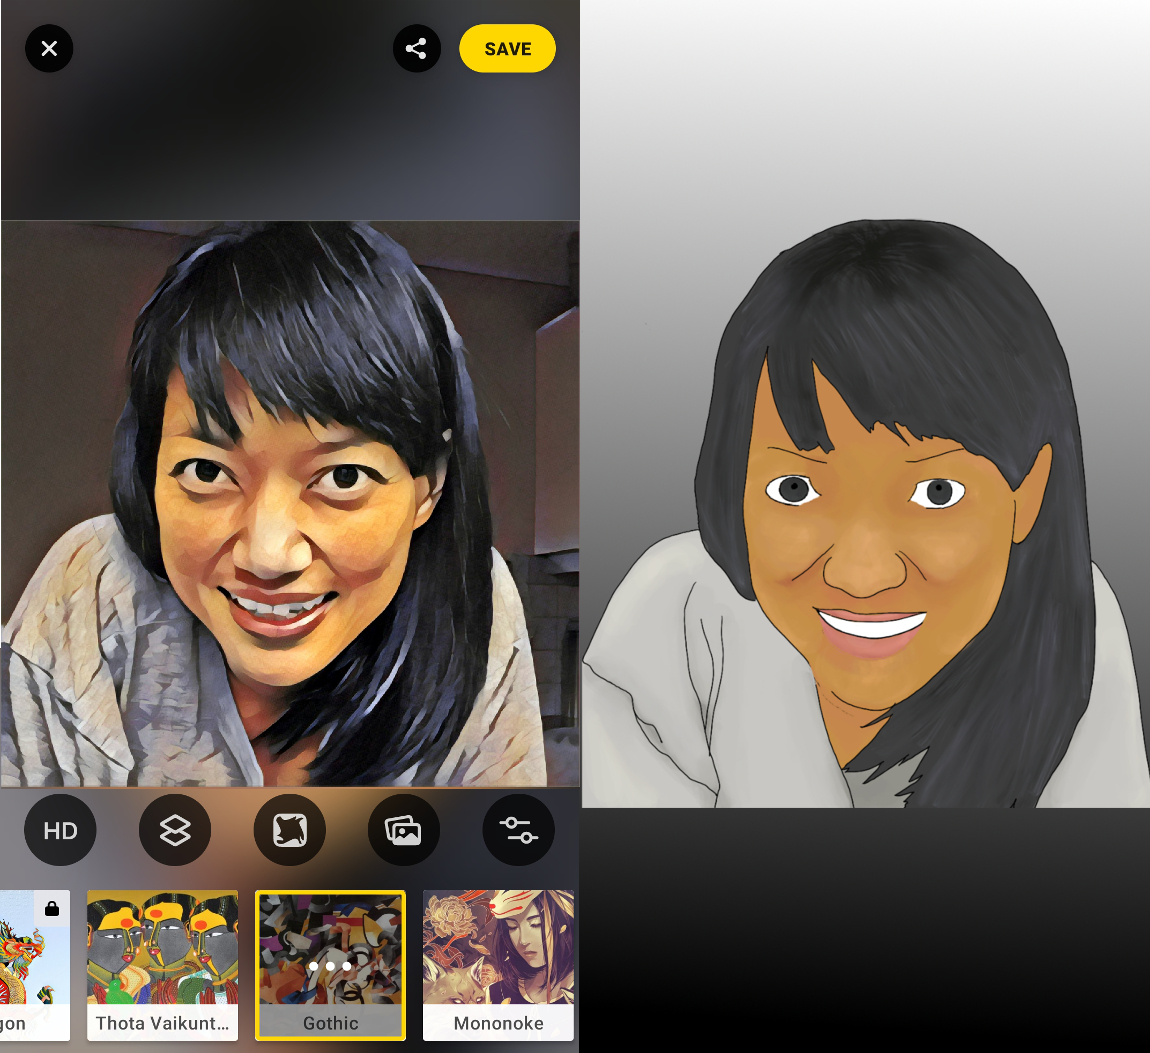
Photo Editing Apps: Photoshop Express (a fun, fast, and easy picture editor for one-touch transformations and photo edits), Adobe Lightroom, and Prisma (a photo editor app that creates photo effects transforming your photos into paintings).
-
AI-generated art is booming and changing the concept of art itself and raises way too many questions. It is a type of art that is created by Artificial Intelligence algorithms and big data processing. Best sites: OpenAI’s beta site, craiyon, starryai, Midjourney, DALL-E, and Latent Difussion.

-
You may want to read our article about Graphics software. Some useful apps: Canva allows users to create social media graphics, presentations, posters, and other visual content. Online photo editors: PicMonkey and Pixlr.