JustToThePoint English Website Version
JustToThePoint en español
JustToThePoint in Thai

How to use Window Managers to increase your productivity

“Where is the ‘any’ key?” — Homer Simpson, in response to the message, “Press any key”

Tell me and I forget; teach me and I remember; involve me and I learn, Ben Franklin.

Window managers are responsible for the placement, arrangement and appearance of all your windows. They can help you to make the most of your display's screen real estate and improve your multitasking experience. Some examples are: FancyZones (Windows), Amethyst (macOS), i3, Awesome WM, and XMonad. Window Managers 

To know the basic about virtual desktops (Windows)/spaces(macOS), read our article How to use virtual desktops and keyboard shortcuts

FancyZones (Windows)

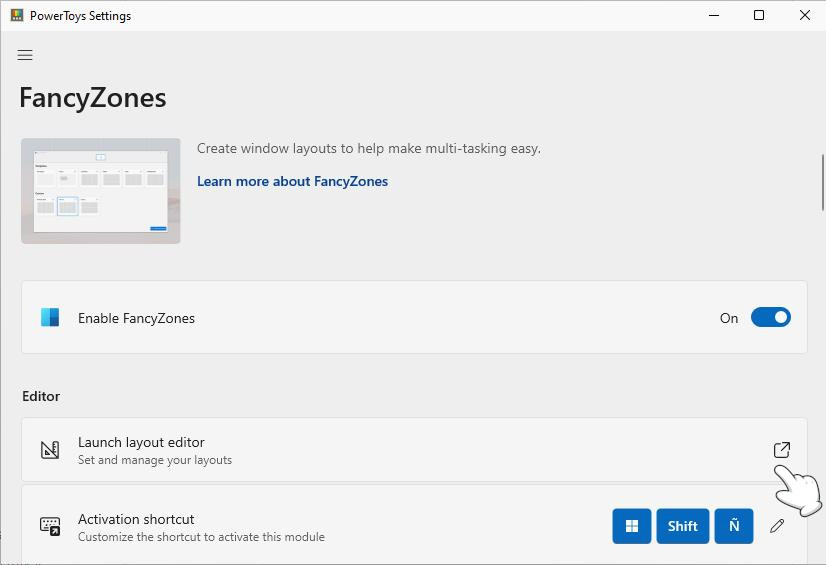
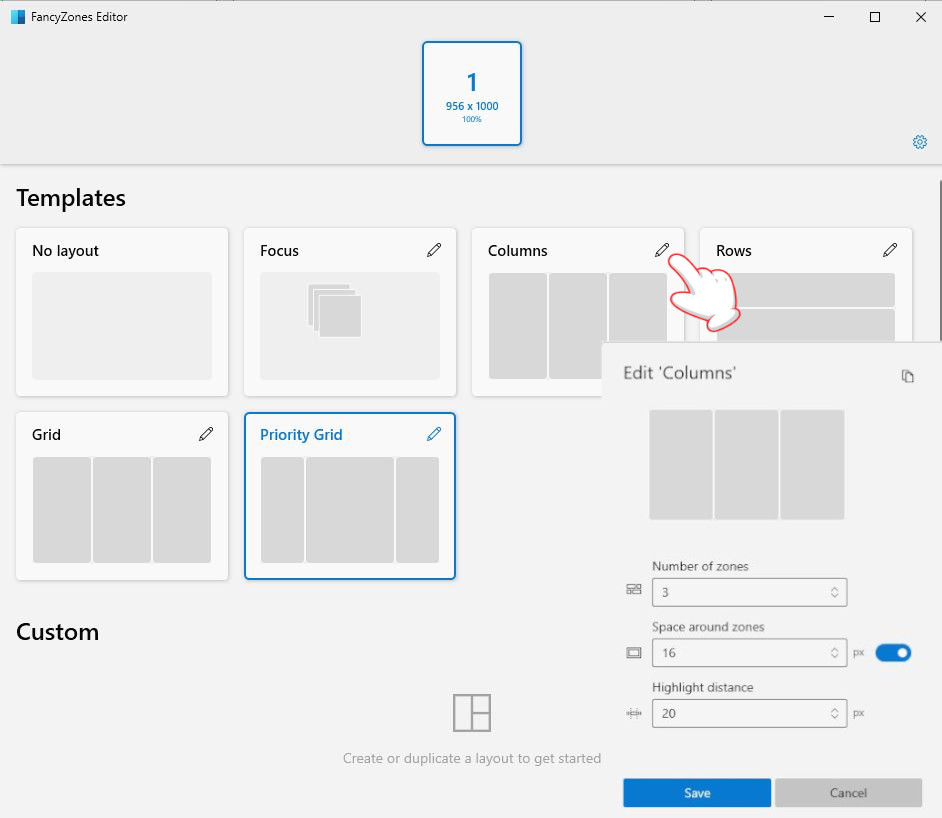
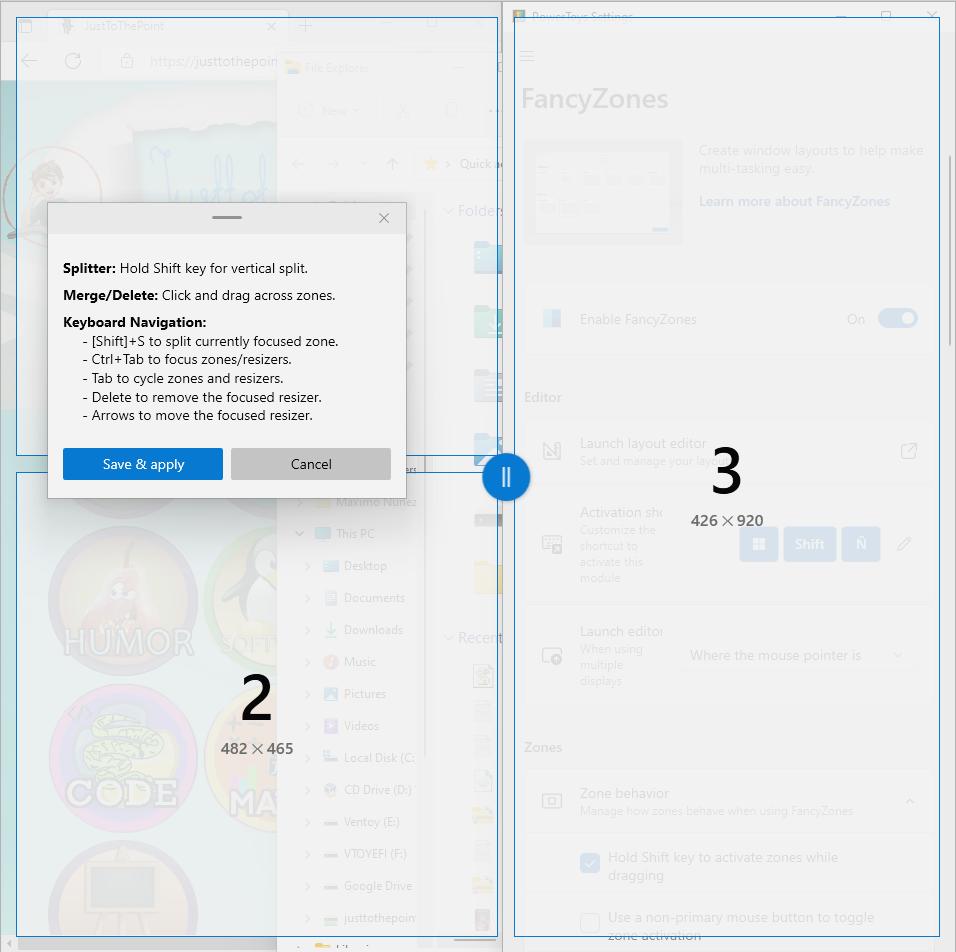
FancyZones is a window manager utility for arranging and snapping windows into efficient layouts to improve the speed of your workflow. When you drag a window into a zone or enter the associated keyboard shortcut, the window is resized and repositioned to fill that zone.

  1. Download and install PowerToys from its GitHub page.
  2. You will find a new PowerToys icon in your system tray. Double click on it to open PowerToy’s setting panel. ![Fancy Zones](/software/images/fancyZones4.jpg ./software/images/fancyZones.jpg ./software/images/fancyZones3.jpg ./software/images/fancyZones2.jpg) 
  3. Make sure that FancyZones is enabled. Next, let’s configure your windows layout by clicking the Launch layout editor button. Fancy Zones
  4. Choose your favorite layout (Focus, Columns, Rows, Grid, Priority Grid). The Space around zones setting enables you to choose what size of margin will surround each zone. Fancy Zones
  5. PowerToys’s FancyZones editor supports creating custom layouts. Select the +Create new layout button at the bottom-right. There are two options to create custom zone layouts: Grid and Canvas layout. Fancy Zones
  6. To swap a window to a zone with the mouse, drag the window and hold the Shift key. You will see the zones appear. As you move the window and hover over a zone, it will highlight that zone. ![Fancy Zones](/software/images/fancyZones4.jpg ./software/images/fancyZones.jpg ./software/images/fancyZones3.jpg ./software/images/fancyBorders.png ./software/images/fancy.png ./software/images/fancyZones2.jpg) 
  7. To swap a window to a zone with your keyboard, you must first enable Override Windows Snap in the PowerToys’s FancyZone settings, then you can use Windows + arrow keys.

Rectangle

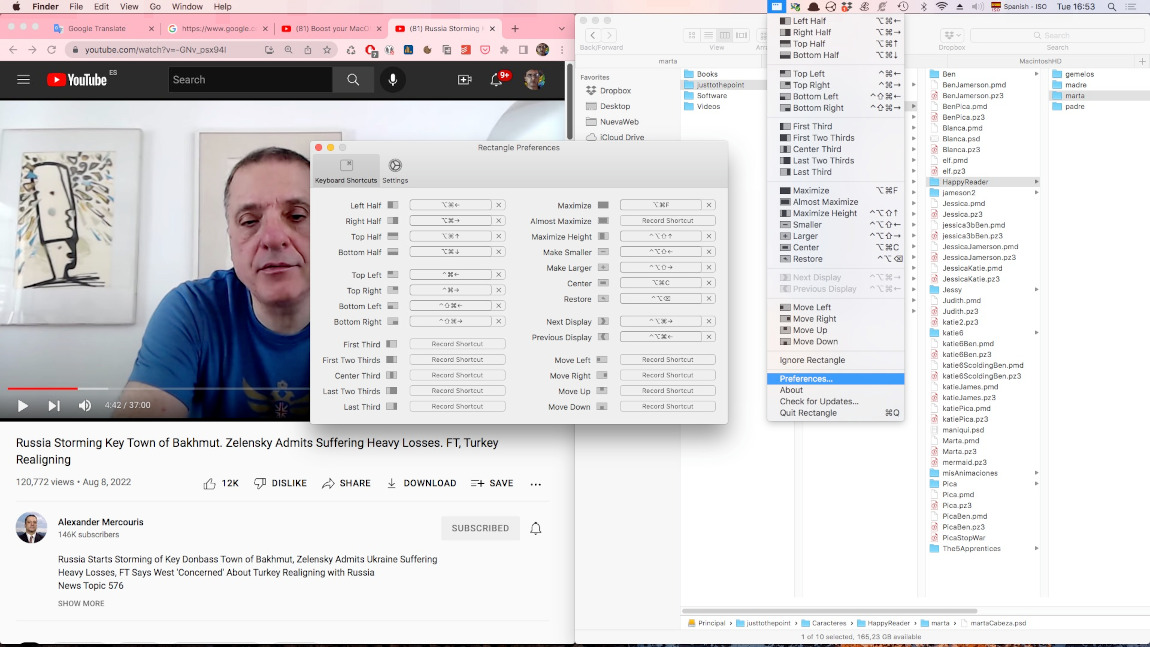
Rectangle is a free and simple macOS window manager app. It lets you move and resize windows in macOS using sensible, out of the box keyboard shortcuts or snap areas.

Installation: brew cask install rectangle or you can download it from its website, drag the application into the Application folder, and authorize Rectangle. Navigate through System Preferences, Security & Privacy, Accessibility, and check Rectangle.

To arrange two windows side-by-side is very easy, just move each window to the left, right, top or bottom of your monitor or use the shortcuts: Left Half (Option/Alt ⌥ + Command ⌘ + ←), Right Half (Option/Alt ⌥ + Command ⌘ + →), Top Half (Option/Alt ⌥ + Command ⌘ + ↑), Down Half (Option/Alt ⌥ + Command ⌘ + ↓). To maximize/center a window, press Option/Alt ⌥ + Command ⌘ + F/C.

Learning the shortcuts and using them is a huge performance multiplier because this skill can be applied to all of your applications and speed up your daily workflow. You can get a keyboard shortcuts reference by clicking on the Rectangle icon in the top menu bar. Besides, you can move a window to another monitor: Control ⌃ + Option ⌥ + Command ⌘ + →/←- Rectangle

Amethyst

Amethyst is a tiling window manager for macOS.

  1. Installation: brew install –cask amethyst
  2. Launch it and grant it permissions to use the accessibility APIs under the Privacy tab of the Security & Privacy preferences pane by clicking on Open System Preferences, then the Lock icon , typing your password, and allowing Amethyst to control your computer.
  3. Quit it, relaunch it, and immediately your windows will be tiled (tall layout). Amethyst 
  4. Keyboard Shortcuts. Amethyst uses two modifier combinations: mod1 (Alt/Option ⌥ + Shift ⇧) and mod2 (Alt/Option ⌥ + Option ⌥ + Shift ⇧). To move focus between your windows counter clockwise/clockwise, press mod1 + j/k = Alt/Opción ⌥ + Shift ⇧ + j/k. To shrink/expand the main pane, type mod1 + h/l.
  5. If you want to be able to resize your windows with your mouse, go to Amethyst’s Preferences, select the Mouse tab, and enable Resize windows using mouse.
  6. To cycle between different layouts, press mod1 + space, that is Alt/Option ⌥ + Shift ⇧ + space.
  7. To select full-screen layout, press mod1 + d, Alt/Option ⌥ + Shift ⇧ + d. To select tall layout, type Option ⌥ + Shift ⇧ + a.
  8. To toggle between tiling and floating for the focused window, press Alt/Option ⌥ + Shift ⇧ + t. Besides, you can decide to automatically float some applications by navigating through Preferences, selecting the Floating tab, clicking on the +, Select from applications, and selecting them in the Application folder.
Bitcoin donation

JustToThePoint Copyright © 2011 - 2024 Anawim. ALL RIGHTS RESERVED. Bilingual e-books, articles, and videos to help your child and your entire family succeed, develop a healthy lifestyle, and have a lot of fun. Social Issues, Join us.

This website uses cookies to improve your navigation experience.
By continuing, you are consenting to our use of cookies, in accordance with our Cookies Policy and Website Terms and Conditions of use.