|
 |
 |
|
 |
|
|
|
|
|
|
A terminal emulator is a text-only application that emulates a console in a desktop environment. Basically, it is a GUI program that acts as a wrapper or front-end and allows you to run a shell and enter commands that the operating system can interpret and execute.
And just as any other program or application, you can install, uninstall, and customize different terminals. There are many great terminals out there such as iTerm, Alacrity, Windows Terminal, Hyper.is, Kitty, guake, and gnome-terminal.
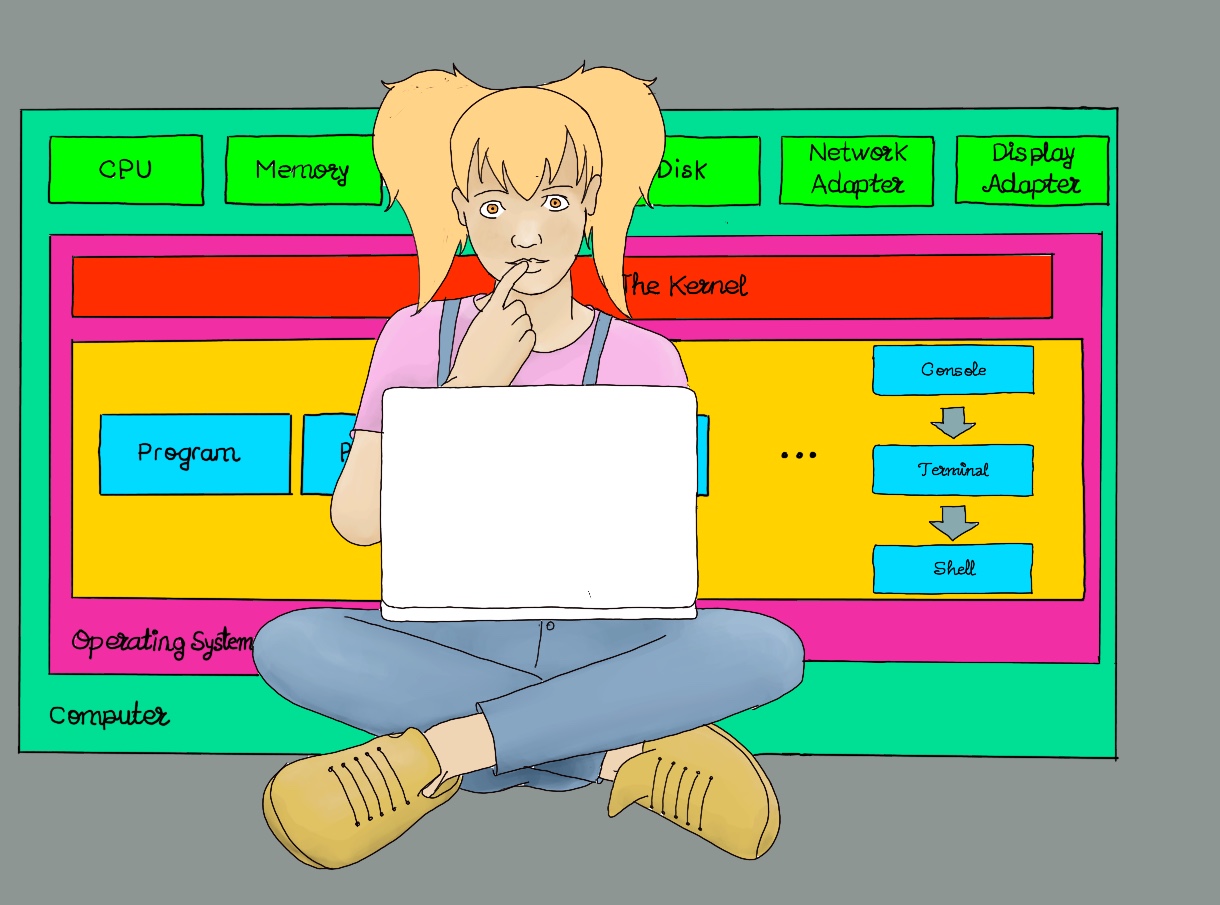
A shell is a command-line interpreter. It sits between the kernel (core) of an operating system and the user, and exposes the operating system’s services to a human user or other programs. In other words, a shell is a command-line user interface for accessing the services of the operating system. Some example of shells are: Power Shell, cmd, Bash, fish, and Zsh.
Terminals
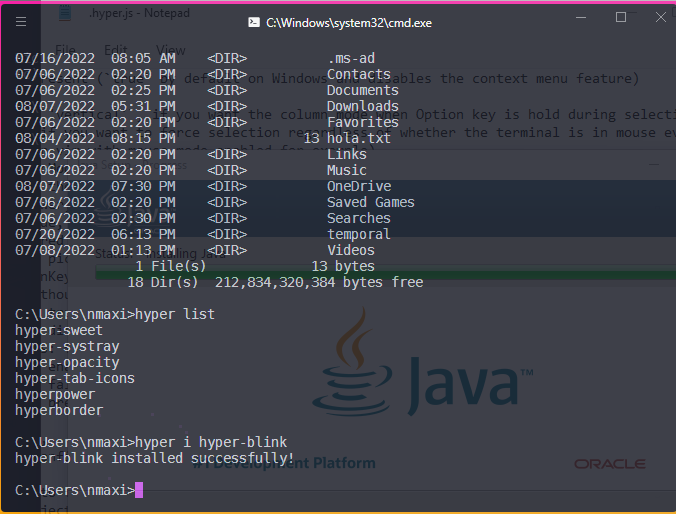
Hyper is an open-source, cross-platform, Electron-based terminal which is built on HTML, JavaScript and CSS. It is modern, beautiful, fully extensible, and highly customizable.
  // Default font size in pixel for all tabs.
  fontSize: 14,
  // font family with optional fallbacks.
  fontFamily: 'Menlo, "DejaVu Sans Mono", Consolas, "Lucida Console", monospace',
  // If true, selected copy will automatically be copied to the clipboard. By default, it is disabled.
  copyOnSelect: true,
  opacity: 0.85,
  [...]
  plugins: [
    "hyper-sweet", // A dark and modern theme for hyper.
    "hyper-systray", // Open Hyper from system tray or a global shortcut (Alt + Space).
    "hyper-opacity", // Set the opacity of your Hyper window. Add a line to your hyper configuration: opacity: 0.85.
    "hyper-tab-icons", // Add icons to the header tabs for the current running process in Hyper.
    "hyperborder", // Add a gradient border to the Hyper terminal.
    "hyperpower" // It is a particle effects extension, fun and cool but useless.
  ],
You may need to click on the Tools menu, select the Install Hyper CLI command in PATH option in order to get the hyper plugin manager to work properly.
Alacritty is a fast, cross-platform, OpenGL terminal emulator.
The full configuration is just a single file (alacritty.yml), so you don’t need to edit your settings through menus and submenus, but keep the config in your dotfiles and easily share it between different machines. Alacritty is a very minimal, clutter-free terminal emulator, but does not support tabs.
mkdir -p ~/.config/alacritty/themes # Use Alacritty's default Linux config directory as the theme's storage location.
git clone https://github.com/alacritty/alacritty-theme ~/.config/alacritty/themes # Clone the repository
Let’s configure it by editing its configuration file: vim /home/user/.config/alacritty/alacritty.toml
import = [
    "~/.config/alacritty/gotham.toml" # Another option is to download only the theme of your choice
]

[cursor]
style = "Beam"
unfocused_hollow = true

[font]
normal                = { family = "MesloLGS NF", style = "Medium" }
bold                  = { family = "MesloLGS NF", style = "Bold" }
italic                = { family = "MesloLGS NF", style = "Italic" }
bold_italic           = { family = "MesloLGS NF", style = "Bold Italic" }
size                  = 16
offset                = { x = 0, y = 1 }
glyph_offset          = { x = 0, y = 0 }
builtin_box_drawing   = true

[[keyboard.bindings]] # Control + V = Paste
action = "Paste"
key = "V"
mods = "Control"

[[keyboard.bindings]] # Control + C = Copya
action = "Copy"
key = "C"
mods = "Control"

[[keyboard.bindings]] # Control + "+" = Increase Font Size
action = "IncreaseFontSize"
key = "NumpadAdd"
mods = "Control"

[[keyboard.bindings]]
action = "DecreaseFontSize"
key = "NumpadSubtract"
mods = "Control"

[[keyboard.bindings]] # Control + N = Create a new instance.
action = "SpawnNewInstance"
key = "N"
mods = "Control"

[[keyboard.bindings]]
action = "ToggleFullscreen"
key = "W"
mods = "Control"

[[keyboard.bindings]]
chars = "{"
key = "F1"
mods = "Control"

[[keyboard.bindings]]
chars = "}"
key = "F2"
mods = "Control"

[[keyboard.bindings]]
chars = "#"
key = "F3"
mods = "Control"

[[keyboard.bindings]]
chars = "~"
key = "F4"
mods = "Control"

[[keyboard.bindings]]
chars = "@"
key = "F5"
mods = "Control"

[[keyboard.bindings]]
chars = "|"
key = "F6"
mods = "Control"

[scrolling]
history = 10000
multiplier = 3

[window]
decorations = "Full" # Neither borders nor title bar.
opacity = 0.9 # Background opacity as a floating point number from 0.0 to 1.0.
startup_mode = "Windowed" # Startup mode, regular windows
Kitty is a fast, featureful, GPU based terminal emulator.
Installation. macOS (brew install kitty). Arch (sudo pacman -S kitty). Ubuntu/Debian (sudo apt-get install kitty).
Shortcuts. New tab/close tab: Ctrl + Shift + t / Ctrl + Shift +q. New window/Close window: Ctrl + Shift + enter/Ctrl + Shift + w. Move to the right/left tab: Ctrl + Shift + right/left arrow. Toggle fullscreen: Ctrl + Shift + F11.
Display images in the terminal: kitty +kitten icat image.jpeg.
Configure Kitty: gedit ~/.config/kitty/kitty.conf:
    font_family MesloLGS NF
    font_size 18.0 # Font size in points
    copy_on_select yes # It will copy selected text into the clipboard
    map ctrl+c copy_to_clipboard # CTRL + C: Copy to clipboard
    map ctrl+v paste_from_clipboard #CTRL + V: Paste from clipboard
    background_opacity 0.9
    mouse_map ctrl+left press ungrabbed,grabbed mouse_click_url # Open URL on simple click. Otherwise, press Ctrl + Shift and then click.
If you find problems with ssh: gedit .bashrc (remote server), export TERM=vt100.
Change Themes: kitty +kitten themes.
You have chosen the Apprentice theme. What would you like to do? Select Modify kitty.conf to load Apprentice. Press M and these lines will be added to your kitty.conf:
# BEGIN_KITTY_THEME
# Apprentice
include current-theme.conf
# END_KITTY_THEME
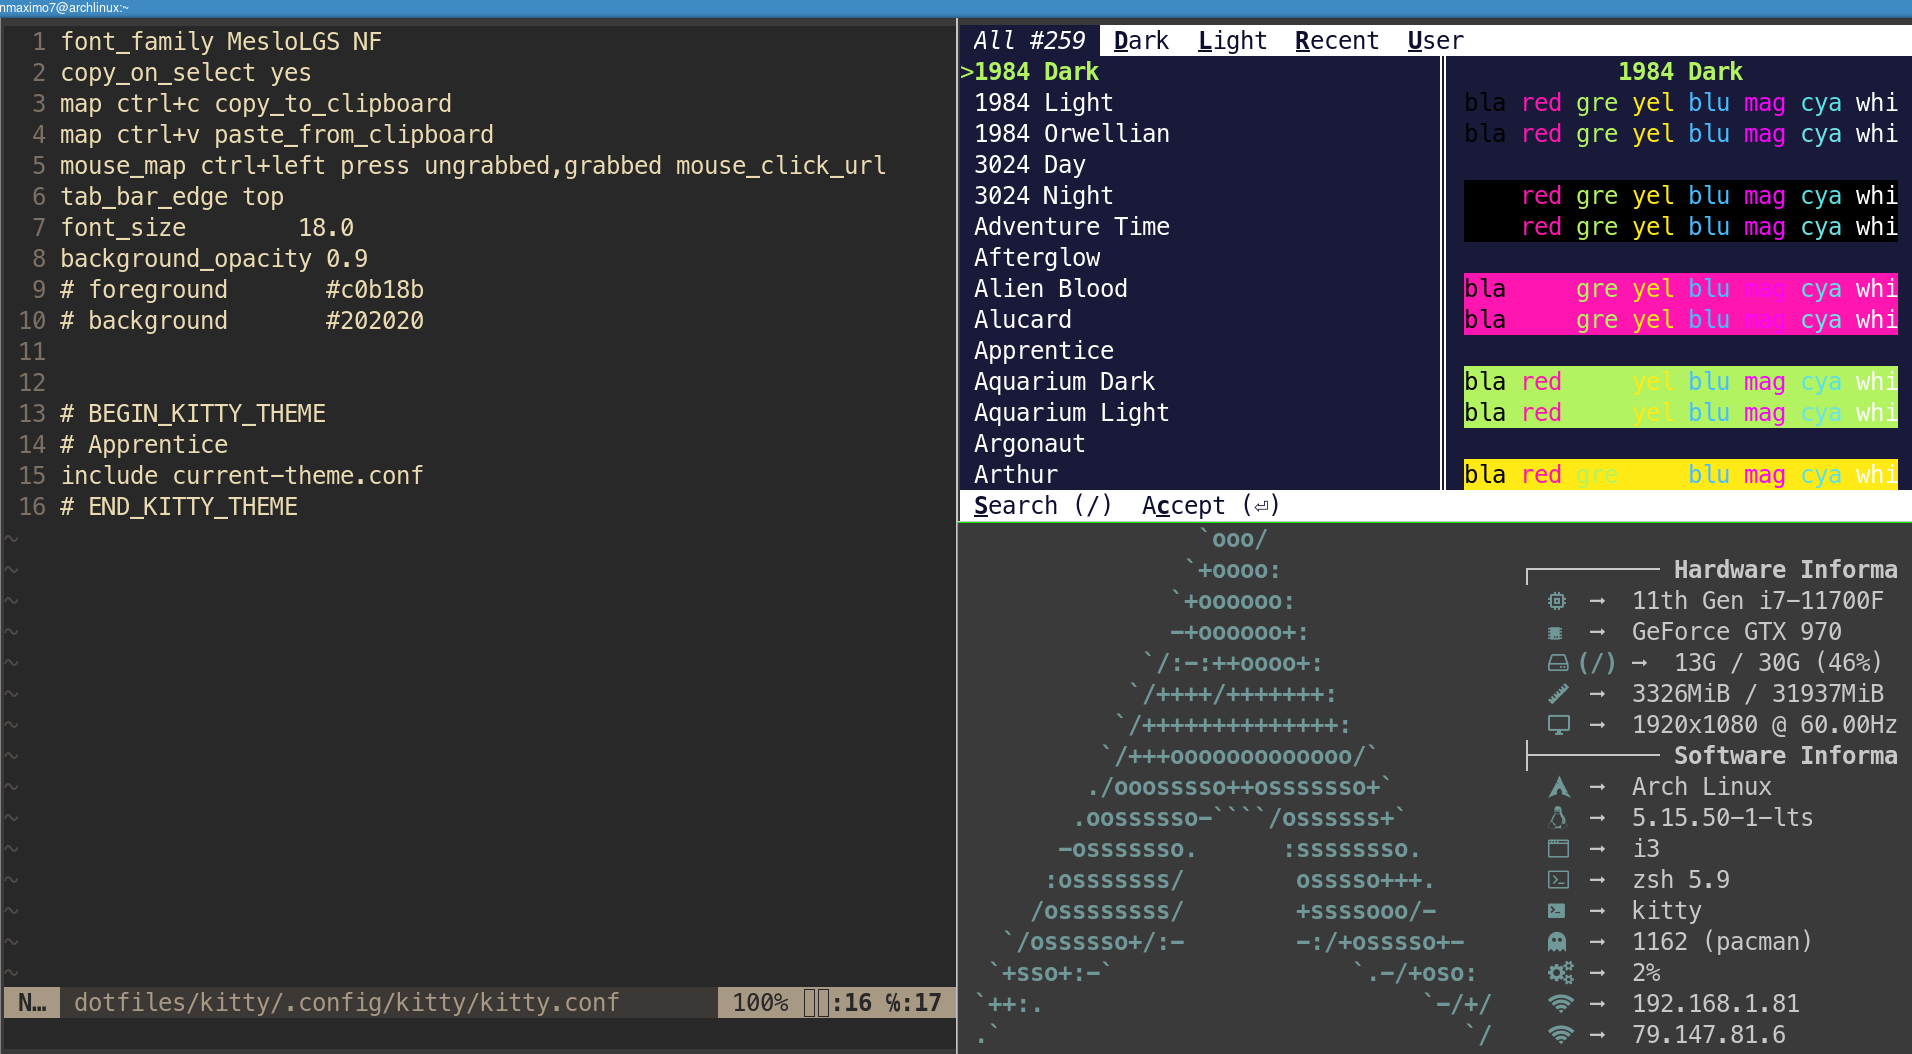
Kitty Terminal
Kitty has the ability to define its own windows that can be tiled next to each other in arbitrary arrangements, based on predefined layouts. There are many different layouts available. They are all enabled by default and you can switch layouts by pressing Ctrl + Shift + l.

JustToThePoint Copyright © 2011 - 2024 Anawim. ALL RIGHTS RESERVED. Bilingual e-books, articles, and videos to help your child and your entire family succeed, develop a healthy lifestyle, and have a lot of fun. Social Issues, Join us.
This website uses cookies to improve your navigation experience.
By continuing, you are consenting to our use of cookies, in accordance with our Cookies Policy and Website Terms and Conditions of use.