
|
 |

|
|
|
|
|
|
Mistakes are a great educator when one is honest enough to admit them and willing to learn from them, Aleksandr Solzhenitsynv

Portainer is a container management platform that provides a user-friendly interface for deploying, managing, and monitoring containerized applications —especially those running on Docker or Kubernetes.
This is the third post in our Portainer series, building on Deploying Portainer on Proxmox LXC. It is highly recommended that you read our first Deploying Portainer on Proxmox LXC: Script-Driven & GUI Walkthrough and second posts, Deploying WordPress as a Portainer Stack: A Hands-On Guide to Docker Compose.
Portainer GUI Management Benefits
Log into your Portainer Server instance by opening a web browser and going to: https://192.168.1.40:9443 (or your Portainer container’s IP).
In the Portainer interface, click on the Stacks menu item located in the left sidebar. Then, press the Add stack button at the top-right corner of the Stacks page.
Configure the Stack:
Name: Provide a name for your stack, e.g., mynginx
Compose File: You can either write your Docker Compose file in the provided editor or upload an existing file.
Environment Variables: Optionally, define any environment variables needed for your services.
Under Build method, choose Web editor. This lets you type out a Docker Compose file manually.
In the big text box, paste your entire docker-compose.yml
version: '3'

services:
nginx:
    image: nginx:latest
    ports:
    - "8080:80"
    volumes:
    - /var/www/html:/usr/share/nginx/html
    restart: always
version: ‘3’ It specifies the version of the Docker Compose file format.
services: It defines the different services (containers) that make up your application. In this case, there is one service named nginx.
nginx: This is the name of the service, which will be used to create a container for running Nginx.
image: nginx:latest This specifies the Docker image to use for the container. Here, it pulls the latest version of the official Nginx image from Docker Hub.
ports: This section maps ports from the host to the container:
- “8080:80” This maps port 8080 on the host machine to port 80 in the Nginx container. This means you can access the Nginx web server by visiting http://192.168.1.40:8080/ in a web browser.
volumes: It defines data volumes to persist data and share files between the host and the container:
- /var/www/html:/usr/share/nginx/html This mounts (read-only) the host directory /var/www/html to the container directory /usr/share/nginx/html.
Any files placed in /var/www/html on the host will be served by Nginx, allowing you to easily manage web content.
restart: always: This option ensures that the Nginx container automatically restarts if it stops or if the Docker daemon restarts.
Prepare Host Content. Creating the index.html file on the host server (where Docker and Portainer are installed):
mkdir -p /var/www/html
cd /var/www/html

nvim index.html
<!DOCTYPE html>
<html>
<head>
    <title>Hello, Nginx!</title>
</head>
<body>
    <h1>Hello, Nginx!</h1>
    <p>This is served by Nginx in a Docker container.</p>
</body>
</html>
Toggle Enable access control off. Click Deploy the stack.
Access the Nginx web server by visiting http://192.168.1.40:8080/ in a web browser and you should see your test page.
This configuration will set up a SearXNG instance, a privacy-respecting search engine, using Docker. Log into your Portainer Server instance, click on the Stacks menu item, then press the Add stack button at the top-right corner of the Stacks page.
Configure the Stack: Name: Provide a name for your stack, e.g., searxnx, and write your Docker Compose file in the provided editor: Build method, Web editor.
# It specifies the version of the Docker Compose file format.
version: '3.8'

# It defines the services that will be run in the stack.
services:
  # This is the name of the service.
  searxng:
    # It specifies the Docker image to use, in this case, searxng/searxng.
    # A well maintained Docker image. SearXNG is a metasearch engine. Users are neither tracked nor profiled.
    image: searxng/searxng
    # Sets a custom name for the container (e.g., SearXNG).
    container_name: SearXNG
    # Defines how to check the health of the container.
    healthcheck:
      # Command to run for the health check.
      # wget is used to check if our webserver is responsive, -no-verbose suppresses output
      # --tries=1 tells wget to only attempt the connection once, --spider instead of using wget for downloading the content, it only checks if the resource is available or not.
      test: ["CMD", "wget", "--no-verbose", "--tries=1", "--spider", "http://127.0.0.1:8080/"]
      # How often to perform the health check
      interval: 10s
      # Time to wait for the health check to succeed
      timeout: 5s
      # Number of retries before considering the container unhealthy
      retries: 3
      # Initial startup period to allow the service to stabilize
      start_period: 90s
    # Sets a memory limit for the container (8 GB).
    # Adjust CPU and memory limits as needed.
    mem_limit: 8g
    # Assigns CPU share weight (2048) to the container.
    cpu_shares: 2048
    # Security options for the container.
    # no-new-privileges:true prevents the container from gaining additional privileges.
    security_opt:
      - no-new-privileges:true
    # Maps the host directory E:\searxng to the container's /etc/searxng, allowing read and write access.
    volumes:
      - E:\searxng:/etc/searxng:rw
    # Exposes port 8080 of the container on port 5147 of the host.
    ports:
      - 5147:8080
    # Defines the restart policy. on-failure:5 means the container will restart up to 5 times on failure.
    restart: on-failure:5
Toggle Enable access control off. Click Deploy the stack.
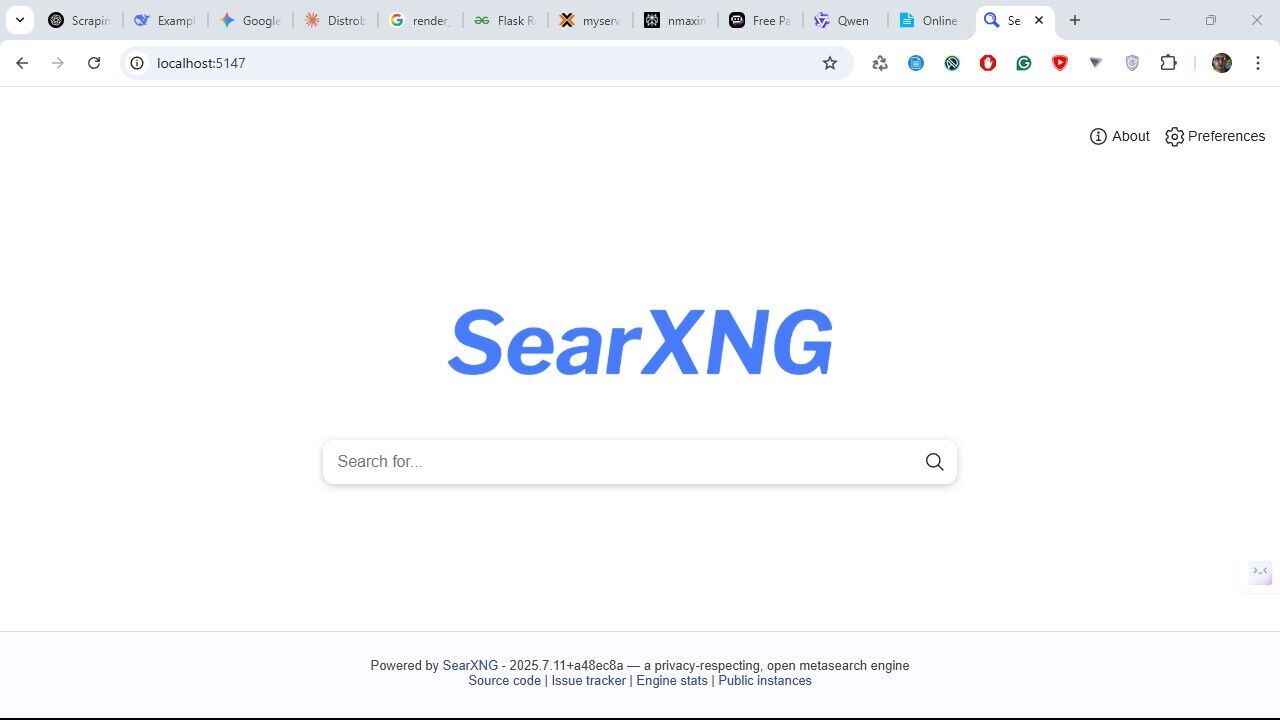
Once the container is running, you can access the SearXNG web interface by navigating to http://< your-host-ip >:5147 in your web browser.
version: '3.7' # Specify the version of the Docker Compose file format, 3.7 is compatible with Docker Desktop.
# This section defines the services that will be deployed as part of the stack.
services:
# This is the name of the service for the Transmission torrent client.
transmission:
image: lscr.io/linuxserver/transmission # Use the official LinuxServer Transmission image.
# This is a well maintained and trusted image from LinuxServer.io.
# Set a custom name for the container
container_name: transmission
environment:
- PUID=0 # Set the user ID for the container (0 = root)
- PGID=0 # Set the group ID for the container (0 = root)
# On a Windows‐host bind-mount the only “owner” really is the Docker daemon (root in the container),
# so dropping into a non-root user (PUID=1000) will often be blocked.
- TZ=Europe/Madrid # Specify the timezone for the container
volumes: # Defines persistent storage locations.
- E:\transmission\config:/config
# Map the host directory for configuration files where Transmission's configuration files will be stored.
- E:\transmission\download:/download
# Map the host directory where downloaded torrents will be saved.
ports: # Maps the container's ports to the host's ports.
- 9091:9091
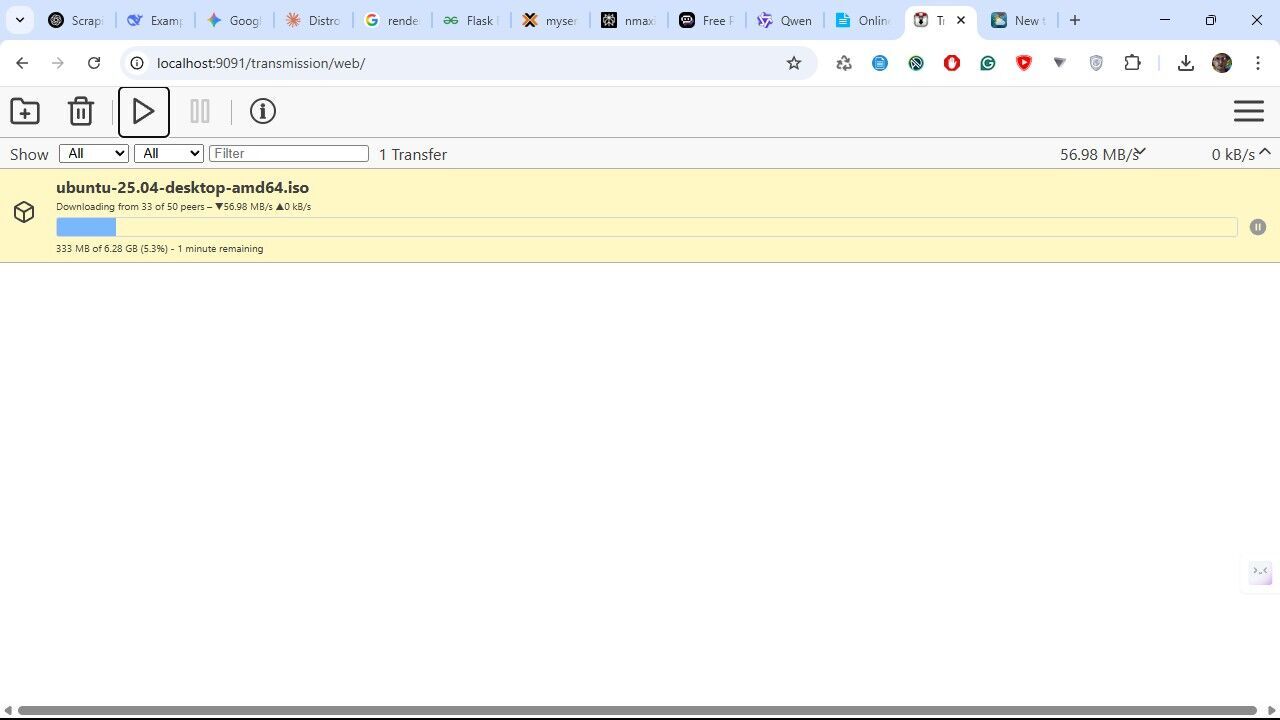
# Expose port 9091 for the web UI, allowing access to the Transmission interface through http://< your-host-ip >:9091.
- 51413:51413 # Expose the TCP port 51413 for torrent data transfer.
- 51413:51413/udp # Expose the UDP port 51413 for torrent data transfer.
# This is necessary for certain peer connections.
restart: unless-stopped
# Ensure the container restarts unless it has been manually stopped
Mount into /downloads (plural) and run as root (PUID=0/PGID=0) to avoid Windows-NTFS permission issues.
Deploy and access the web UI at [http://] + dirIPContainer + [:9091/].
Once connected to Portainer, you can perform these container management actions:
# Test HTTPS (default secure port)
curl -k -I https://192.168.1.40:9443

# Test HTTP (if enabled)
curl -I http://192.168.1.40:9000

# Test from browser
# https://192.168.1.40:9443
# http://192.168.1.40:9000

# If connection fails or times out
# Restart Portainer container
docker restart portainer

# If restart doesn't help, recreate with HTTP enabled
docker stop portainer && docker rm portainer
docker volume rm portainer_data
docker volume create portainer_data
# Use the HTTP Port as a Fallback
# Portainer CE by default listens on 9443 for HTTPS.
# If you want an unencrypted HTTP interface on 9000, you must add --http-enabled when running
docker run -d \
-p 8000:8000 \
-p 9000:9000 \
-p 9443:9443 \
--name portainer \
--restart=always \
-v /var/run/docker.sock:/var/run/docker.sock \
-v portainer_data:/data \
portainer/portainer-ce:latest \
--http-enabled

# Test local connectivity within container
# Test HTTPS locally
curl -k -I https://127.0.0.1:9443

# Test HTTP locally (if enabled)
curl -I http://127.0.0.1:9000
# Should return HTTP/1.1 200 OK
# Access the LXC container (myportainer)
pct enter 110

# Verify all containers are running
root@portainer:~# docker ps -a
CONTAINER ID   IMAGE                           COMMAND                  CREATED       STATUS                   PORTS                                                                                                NAMES
2b92263d8e90   wordpress:latest                "docker-entrypoint.s…"   8 hours ago   Up 8 hours               0.0.0.0:8880->80/tcp, [::]:8880->80/tcp                                                              mysql-wordpress-1
e5704349f155   mysql:8.0                       "docker-entrypoint.s…"   8 hours ago   Up 8 hours               3306/tcp, 33060/tcp                                                                                  mysql-db-1
# Expected output should show portainer container as "Up"
bd7a95ca494c   portainer/portainer-ce:latest   "/portainer"             9 hours ago   Up 9 hours               0.0.0.0:8000->8000/tcp, [::]:8000->8000/tcp, 0.0.0.0:9443->9443/tcp, [::]:9443->9443/tcp, 9000/tcp   myportainer
3ec276d311bf   hello-world                     "/hello"                 9 hours ago   Exited (0) 9 hours ago                                                                                                        vibrant_wozniak

# Test HTTPS interface locally
curl -k https://127.0.0.1:9443 -I

HTTP/1.1 200 OK
# Portainer is running correctly inside the container.
[...]
# Or test the HTTP fallback on 9000 if you have already enabled it
curl -I http://127.0.0.1:9000

# Inspect Portainer logs for errors
docker logs portainer

# Follow logs in real-time
docker logs -f portainer
# Verify container's IP configuration.
# Ensure the container’s IPv4 address really is 192.168.1.40/24
root@portainer:~# ip a show eth0
# Expected output:
2: eth0@if17:  mtu 1500 qdisc noqueue state UP group default qlen 1000
    link/ether bc:24:11:39:28:4c brd ff:ff:ff:ff:ff:ff link-netnsid 0
    inet 192.168.1.40/24 brd 192.168.1.255 scope global eth0
    valid_lft forever preferred_lft forever
    inet6 fe80::be24:11ff:fe39:284c/64 scope link proto kernel_ll
    valid_lft forever preferred_lft forever

# Install net-tools if not available
sudo apt update && apt install net-tools -y
# Confirm Portainer is listening on all interfaces (0.0.0.0:9443):
root@ubuntu-vpn:~# netstat -tuln | grep -E '9000|9443|8000'
# Expected output:
# tcp        0      0 0.0.0.0:9000            0.0.0.0:*               LISTEN
# tcp        0      0 0.0.0.0:9443            0.0.0.0:*               LISTEN
# tcp        0      0 0.0.0.0:8000            0.0.0.0:*               LISTEN
# Check UFW status within container
root@portainer:~# sudo ufw status verbose
Status: inactive
# If active, allow Portainer ports
sudo ufw allow 9443/tcp
sudo ufw allow 9000/tcp
sudo ufw allow 8000/tcp
sudo ufw reload
# Or disable UFW if not needed
sudo ufw disable
# From Proxmox host
cat /etc/pve/lxc/110.conf
# Key configuration element
arch: amd64
cores: 2
# nesting=1: This features enables running containers within containers (essential for Docker)
# keyctl=1: Allows key management operations  (it could be necessary for certain applications that rely on secure access),
# mknod=1: while also enabling the creation of device files (this can be necessary for applications that require direct access to hardware or specific device files.).
features: nesting=1,keyctl=1,mknod=1
hostname: portainer
memory: 4096
nameserver: 1.1.1.1 8.8.8.8
# Verify the LXC’s Network Mode
# If the Container Firewall is enabled (indicated by firewall=1), it may restrict network access for the container.
# If you encounter connectivity issues, consider disabling it by removing the firewall=1 setting in the container configuration.
# type=veth specifies that the network interface is a virtual Ethernet (veth) interface.
# Veth pairs are used in container networking to connect the container’s network namespace to the host’s network namespace.
net0: name=eth0,bridge=vmbr0,gw=192.168.1.1,hwaddr=BC:24:11:39:28:4C,ip=192.168.1.40/24,type=veth
onboot: 1
ostype: ubuntu
rootfs: mypool:subvol-110-disk-0,size=80G
startup: 1
swap: 512
# This line sets the AppArmor profile for the container to "unconfined."
# AppArmor is a Linux security module that restricts the capabilities of programs.
# By using the "unconfined" profile, the container is given broader permissions and is not restricted by AppArmor's security policies.
lxc.apparmor.profile: unconfined

# Apply configuration changes:

# Restart container after config changes
pct restart 110

# Verify from host
pct exec 110 -- curl -k -I https://192.168.1.40:9443
This will allow traffic to reach your container’s Portainer service.
# From your local machine:
ssh-copy-id root@192.168.1.40.
# Test SSH connection:
ssh root@192.168.1.40
ssh root@myportainer and create an alias:
echo 'alias myportainer="ssh root@myportainer"' >> ~/.bashrc
source ~/.bashrc
# Check Docker service status
systemctl status docker

# Restart Docker service
systemctl restart docker

# Check Docker system information
docker system info

# Clean up Docker resources
docker system prune -a

# Check disk usage
df -h
docker system df

# Monitor container resources
docker stats portainer

# Check container health
docker inspect portainer | grep -A 10 "Health"

# Test network connectivity from container
ping -c 4 8.8.8.8

# Check routing table
ip route show

# Test DNS resolution
nslookup google.com

JustToThePoint Copyright © 2011 - 2026 Anawim. ALL RIGHTS RESERVED. Bilingual e-books, articles, and videos to help your child and your entire family succeed, develop a healthy lifestyle, and have a lot of fun. Social Issues, Join us.
This website uses cookies to improve your navigation experience.
By continuing, you are consenting to our
use of cookies, in accordance with our Cookies Policy and
Website Terms and Conditions of use.